Replacing the washing machine hatch door handle with your own hands!
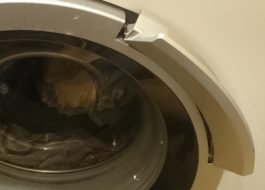
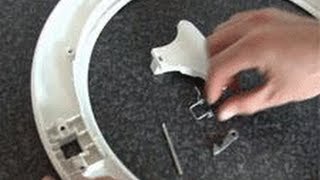 Unfortunately, all parts of a washing machine have one or another service life. They can periodically fail. In addition, they can become unusable due to improper handling. If the hatch door handle is broken, it needs to be replaced. Usually it is the part of the handle that is made of plastic that breaks off. This is a fairly common failure.
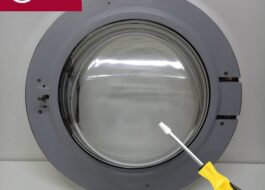
Before proceeding with the replacement, you need to disconnect the machine from the electricity. Then you need to remove the door itself. It is fixed to the body with two bots. They can be twisted using a screwdriver or an asterisk (different models have different ways). After this, we place the removed hatch on a hard, flat surface so that the bolts connecting it are on top. We will have to unscrew these bolts. Then, using a slotted screwdriver or a knife, you need to pry up the part of the door located at the top and remove it.
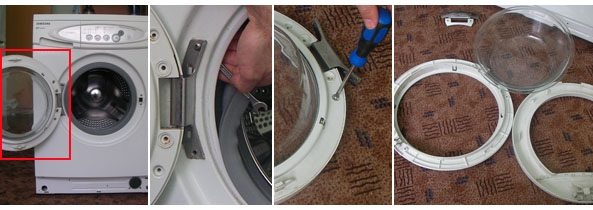
Now we turn the door of the washing machine over and detach the outer part from the one inside. After this, remove the glass part and put it aside. And put the inside back on a firm, flat surface. This way we get to the handle that needs to be replaced. Then we recommend taking a photo of its location and methods of fixation. The photo will help us not make a mistake when we assemble the hatch.
The plastic handle is fixed with a pin. We must carefully remove this pin. To do this, move it to one side and then take it out. When removing the pin, you will first be able to remove the plastic handle. After the spring and hook.A fairly common malfunction is when it breaks off as close as possible to the place where it is fixed with a pin.
Installing a new handle and assembling the hatch
We hope that you have already purchased a kit to replace the handle of your washing machine. As a rule, it is sold or ordered at service centers.
It consists of:
- Plastic handles,
- metal pin,
- The hook, which, when closed, enters the hatch locking device,
- And the return spring.
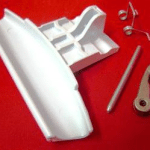 Installation of a new handle begins with installing the spring. It must be placed the same way the old one was located. That is, in a specially adapted place so that it fits into special holes. Then you need to install the fixing hook. If you don’t remember how they should be positioned and fastened, you can look at the photo you took earlier.
After this we need to insert the pin. But this needs to be done only in one hole. So that you can then insert the handle. To do this, you need to hold the spring and pin with your free other hand. Then we insert the handle and fix it in the right place by pulling out the pin. The pin must pass through the special holes in the handle and enter the opposite hole on the hatch. During this part of the work you will need to hold the handle in a certain position. This is done so that the end of the pin does not deviate and enters the opposite hole without problems.
When the pin is finally in place, you need to check that the handle is positioned correctly. It should be slightly moved to the side due to the action of the spring. If the spring does not push back the handle, then you have placed it incorrectly. You will have to disassemble the handle again and reinstall the retaining hook with the spring.
Then all we have to do is assemble the washing machine hatch door and return it to the right place. Make sure that all parts are tightly connected and secured with screws.
In order to clearly demonstrate the entire process, we attach two videos to the article:
Replacing the hatch handle in a washing machine
Interesting:
4 reader comments



The handle can also be glued. Dichloroethane – screed – drying 2 days
How to glue it? Could you write in detail? The plastic handle is broken, but we can’t find a new one to replace it.
The lid on my door broke.
Where can I buy a pen from?