How to change the cuff in an Atlant washing machine?
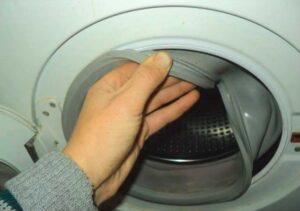 If you handle household appliances carelessly, do not take care of pets who like to chew rubber parts, and make other mistakes, you cannot avoid damage to the drum seals that require repair. Replacing the hatch cuff of an Atlant washing machine should be done as quickly as possible, regardless of the factors that caused the problem. Otherwise, a leak in the seal will lead to leaks. Let's consider what recommendations experts give in such cases.
Buying a new part
This needs to be done first. The best solution would be to dismantle the damaged item and bring it to the store to select a similar product. The seller will offer the same elastic band or an option with the most similar characteristics. It is enough to name the article number of the old gasket.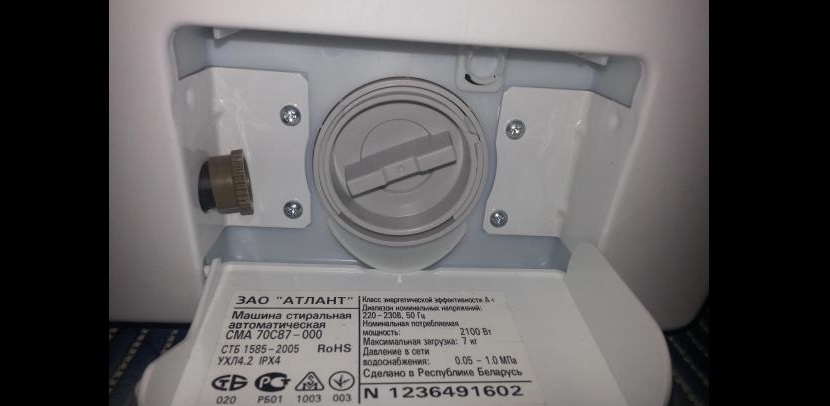
Unfortunately, it is not always possible to remove the part. In such situations, the guideline for choosing is the model and marking of the washing machine. Detailed information (batch number, series, date of manufacture, etc.) about household appliances is presented on the “nameplate” on the garbage filter hatch. It is recommended to take a photo of the factory label in order to show it to the manager in the store.
Important! In addition to the seal itself, for high-quality repairs you will need pliers, a slotted screwdriver, as well as a foam sponge and liquid soap.
How to properly remove a damaged cuff?
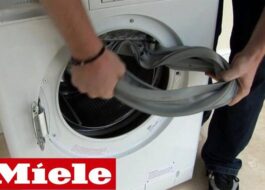
First you need to dismantle the damaged element. The gasket is fixed with clamps, external and internal. They are removed when the latch is loosened. Let us describe the procedure.
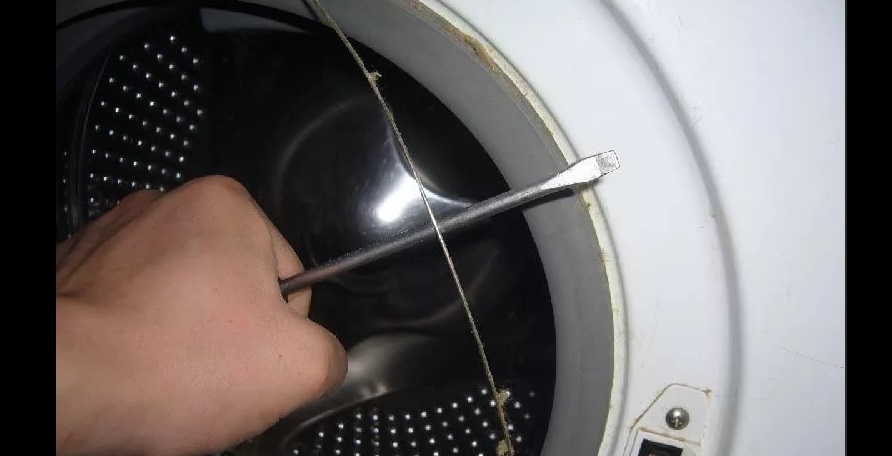
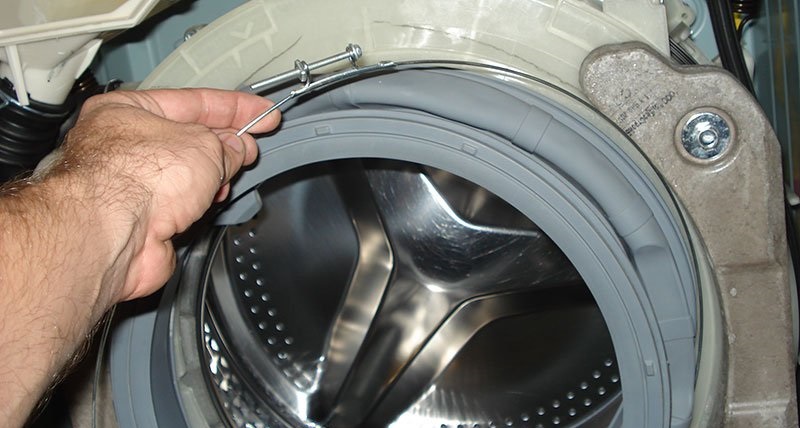
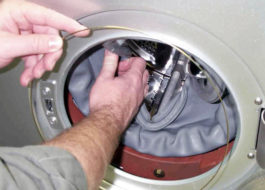
- Feel for the outer plastic ring, hook the rim spring with a screwdriver, pull the fixing element to the side and remove the clamp.
- Remove the bottom panel of the washing machine, which serves a decorative function and hides the garbage filter.
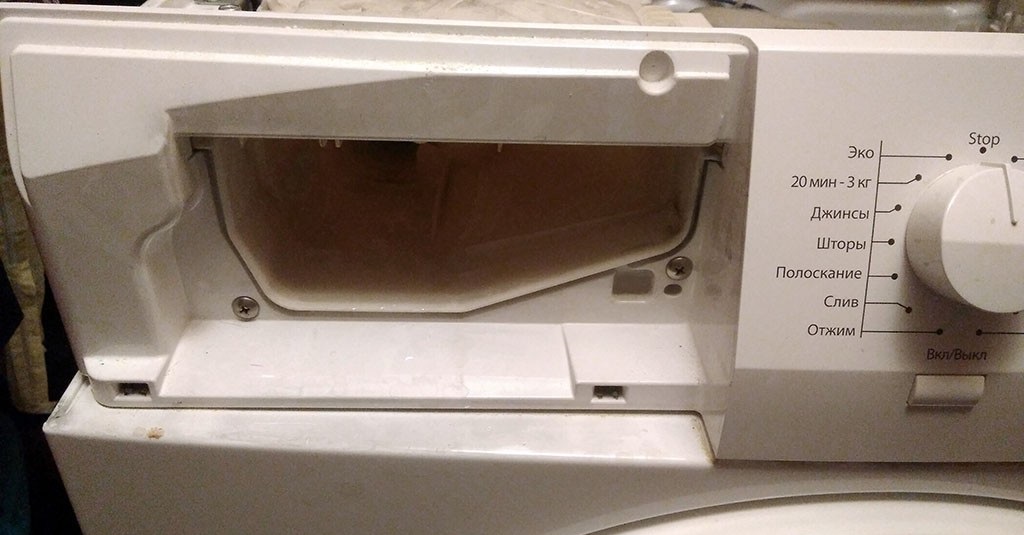
- Get the powder receptacle.
- Unscrew the bolts that hold the front part of the housing and set the front wall aside. In this case, care must be taken not to tear off the UBL wire.
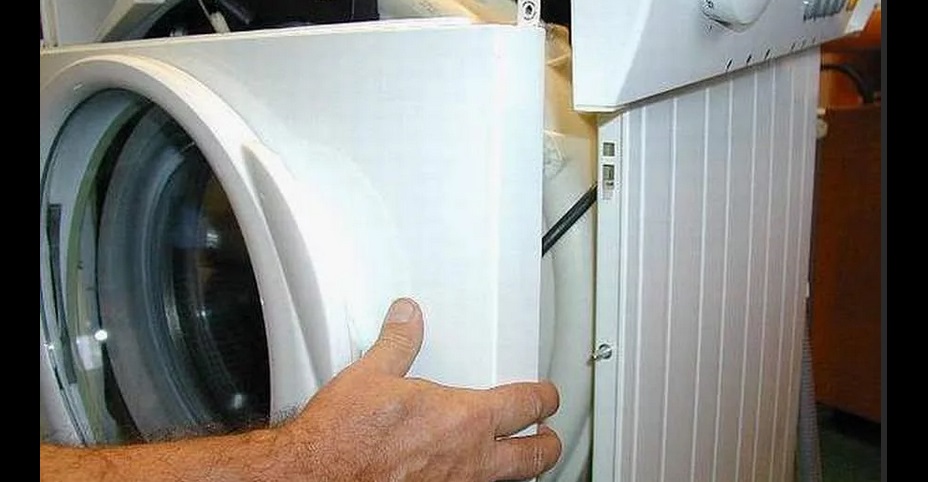
- Pry up and pull out the inner plastic ring in the same way as the outer one.
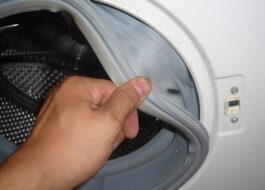
- Carefully remove the cuff without damaging other elements.
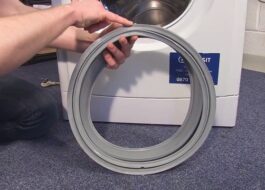
Once the seal is removed, there is no need to throw it away immediately. It is worth carefully inspecting the part and looking for any mechanical damage. This will help determine the exact causes of damage to the rubber seal and prevent similar breakdowns in the future.
Installation of the purchased part
Installing a new cuff requires more skill than removing the old one. The rubber band must fit exactly into the grooves, for which you will have to apply force. However, you shouldn’t panic and worry that nothing will work out; it’s enough to follow all the rules developed by experts. How to change a cuff?
- Cleaning the seat. This is why it is recommended to use a sponge with liquid soap. There should be no contamination left in the grooves. After washing and cleaning, do not wipe the surfaces dry to make the installation process easier.
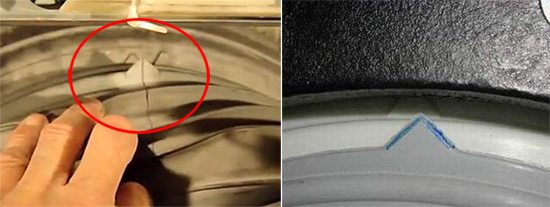
- Compare the mounting marks on the rubber seal with the markings on the body of the washer.
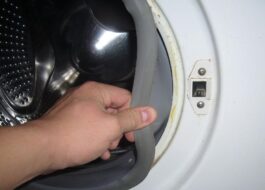
- Installation of the gasket in a special recess, stretching along the entire circumference of the drum.
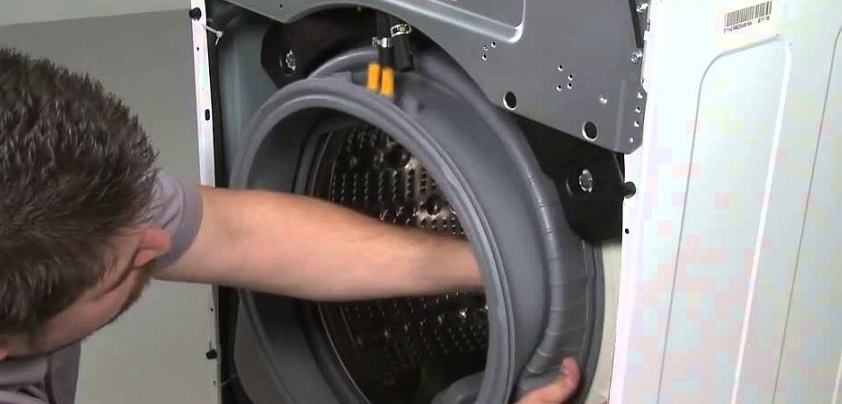
- Fixing the internal clamp, assembling the case with screws, installing the decorative panel.
- Pull the outer edge of the sealing rubber onto the drum lip.

- Fastening the outer clamp in the recess with a spring towards the bottom, stretching the rim around the circumference.
Thus, to replace the cuffs in the Atlant machine, it is enough to go through just a few successive steps. Next, it is important to check whether the device itself is sealed. It is worth running the wash in a short mode, for example, choosing a rinse without spinning. While the machine is working, it is strictly not recommended to leave it in order to notice a leak in time and take urgent measures to prevent the consequences of flooding of the room.
Interesting:
Reader comments
- Share your opinion - leave a comment




Add a comment