How to install a front on an Electrolux dishwasher
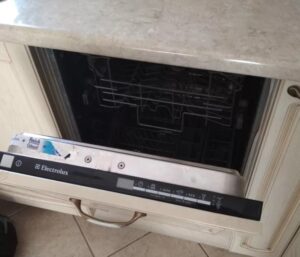 After purchasing a new built-in dishwasher, the owner is faced with several tasks. First, you need to connect the machine to water, sewerage and electricity. Secondly, install the facade on the PMM door. You can do the work yourself without turning to specialists. Let's look into the nuances.
You can’t do without the front part
Installing a front on an Electrolux dishwasher is not that difficult. It is quite possible to cope with the task yourself; a minimal set of tools is required, and all fasteners are included with the PMM. Let's figure out what this decorative “plating” is intended for.
A dishwasher front is a panel made of a material similar or identical to that from which the rest of the kitchen cabinets are made. It is necessary to hide the dishwasher from prying eyes. The facade is attached to the PMM door.
Fully built-in Electroluxes with a hanging facade have several advantages.
- Facilitate and speed up the process of selecting equipment. Buyers do not have to look for a washing machine that matches the color of other electrical appliances and furniture. It's easier from a design point of view. The PMM is covered with a façade, thereby achieving unity of style in the interior.
- Not as interesting for small children. The control panel, which blinks during operation, is also hidden behind a decorative wall, so kids won’t poke at the sensor too much.
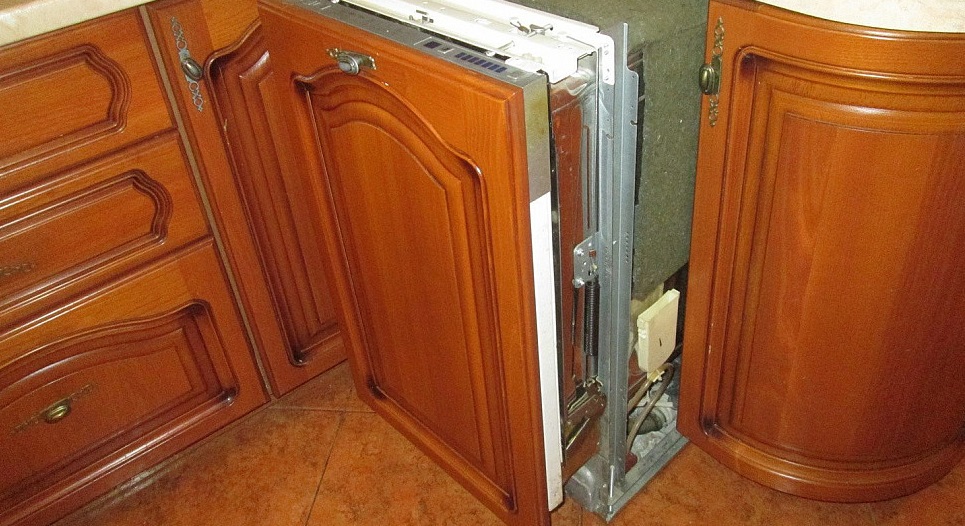
- They make less noise compared to stationary PMMs. Thanks to the hanging facade, you can’t hear the dishwasher working so much.
The facade for the PMM is made of the same material as the rest of the kitchen doors, usually MDF.
The thickness of the fibreboard is almost always 1.6 cm. The facade can be laminated or covered with a film of different colors. Therefore, it will not be difficult to make a decorative panel to match the shade and texture of your furniture set.
Dimensions of the dishwasher and its front
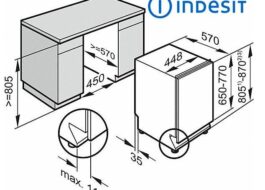
Buying a built-in PMM is a responsible matter. It is necessary to accurately measure the dimensions of both the machine and the place where it is planned to be installed. The size of the front depends on the size of the dishwasher Electrolux.
Standard fully built-in PMMs have a width of 45 or 60 cm and a height of 82 cm. However, in stores there are also small-sized models that occupy a height of 50 or 60 cm. Therefore, before purchasing, be sure to measure the dimensions of the PMM body down to the millimeter.
The best option is to choose a dishwasher and other built-in household appliances, and only then place an order for the manufacture of furniture. In this case, the likelihood of confusion with the dimensions of the niche and facade will be minimal. After all, in fact, the PMM may not have a width of 60 cm indicated on the website, but 59.4 cm, and this is a significant difference.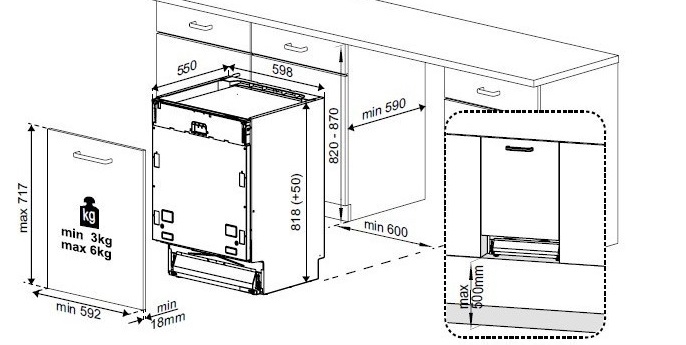
The width and height of the facade must be clearly calculated. It will be impossible to saw off the excess without spoiling the appearance of the door, since the side parts and the front side of the decorative panel are laminated and covered with film.
The height of the facade should be several millimeters higher than the height of the PMM door. To align the decorative panel with the rest of the furniture, you will have to tighten the legs of the dishwasher. This way the wall will clearly “fall” into place.
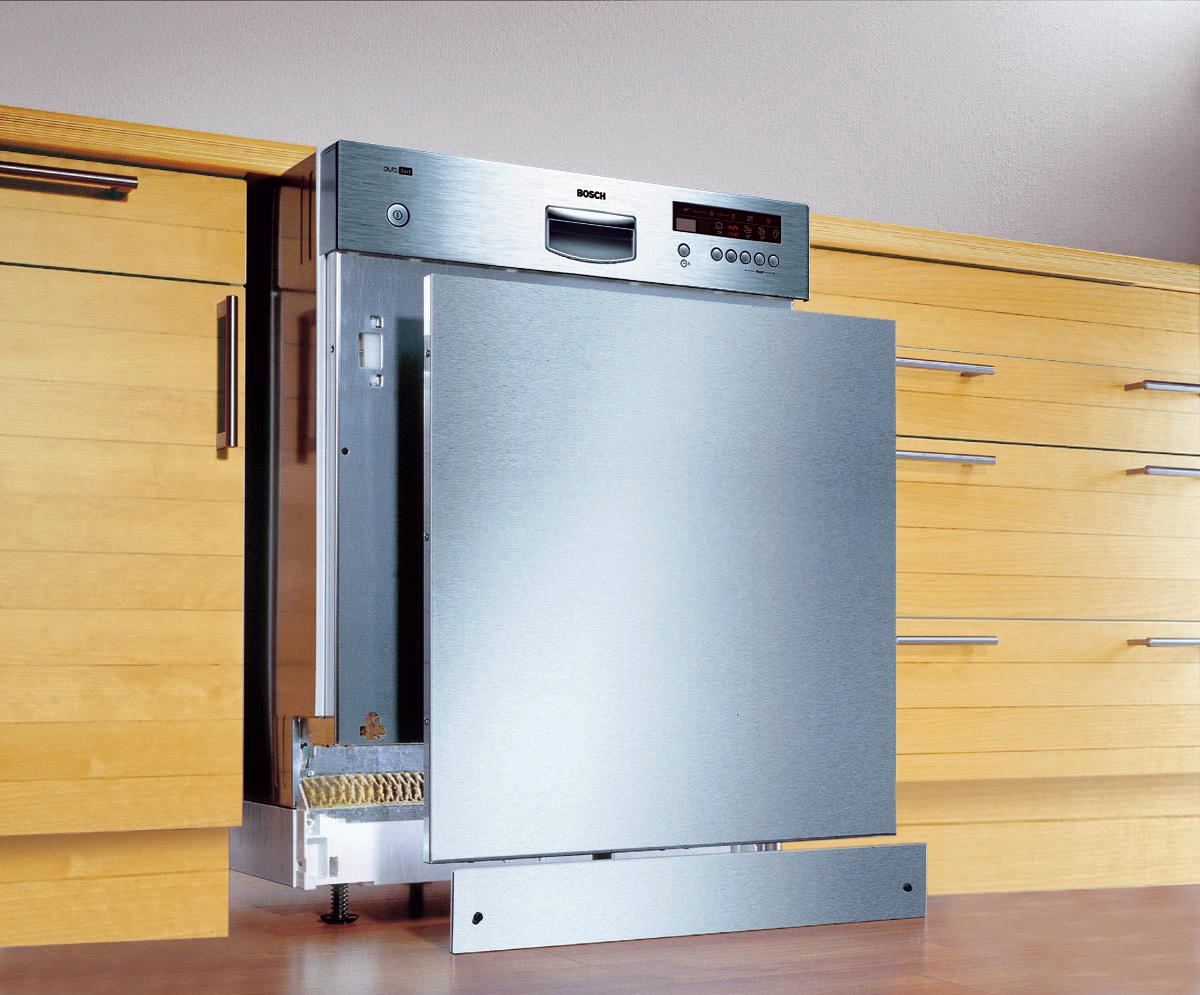
The size of the façade for Electrolux dishwashers, which are partially built-in, will depend on the width of their dashboard.The buttons and indicators of such machines are located on the door, and they must be left open. In this case, hanging the wall is even easier than in fully built-in PMMs.
We hang the facade with our own hands
The decorative panel must be installed after connecting the dishwasher to water and sewerage. Next, you need to place the machine in the niche that is reserved for it. During the work you need to have on hand:
- screwdriver;
- Phillips and slotted screwdrivers;
- drill;
- awl;
- roulette;
- felt-tip pen or pencil for marks;
- ruler;
- building level.
Before installing the facade, it is necessary to fix the dishwasher in the niche. The machine is attached to the side walls of adjacent cabinets and to the countertop. Next, you should screw the handle to the front of the decorative panel so that you can open and close the door.
Screwing on the handle is easy. First, a drill is used to drill a hole for the screw. Next, the handle is secured to the decorative wall with a self-tapping screw. Experts recommend starting drilling from the front side to avoid chips on the panel.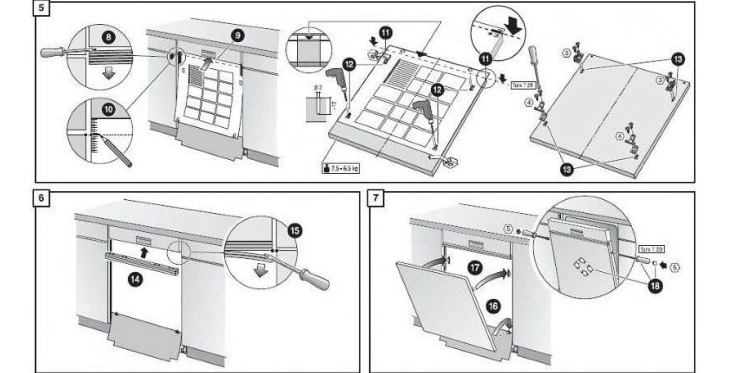
Afterwards it is necessary to calculate at what distance the façade mounting points should be. The edges of the decorative panel should be flush with the adjacent cabinets. Arm yourself with a tape measure and measure:
- the gap between the countertop and the front of the nearest cabinet;
- distance from the top fastening of the cabinet door to the countertop.
Next, you need to subtract the first from the second value. The result will be the distance at which the facade fastening should be located. You shouldn’t check the door right away; in this case, you need to double-check everything several times.
Therefore, take the fastening template (included in the kit), fix it from the inside of the facade with tape at the required distance.Attach the door to the furniture set. If everything is smooth, then mark the points for drilling.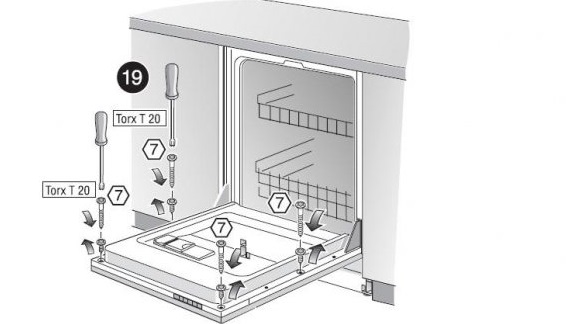
Then take the drill. The holes for fastenings should not be through, but extend through 3/4 of the thickness of the facade. It is possible to do without drilling by simply screwing screws into the MDF.
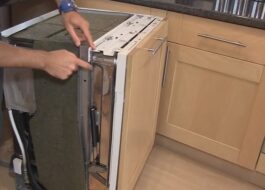
Next, you can fix the facade “upholstery” on the door of the Electrolux machine. Fastening is carried out with screws included with the PMM. Afterwards, all that remains is to provide moisture protection for the tabletop.
After hanging the facade, check how tightly it fits to the PMM, whether it is securely fixed, and whether there are any interference when opening/closing the door.
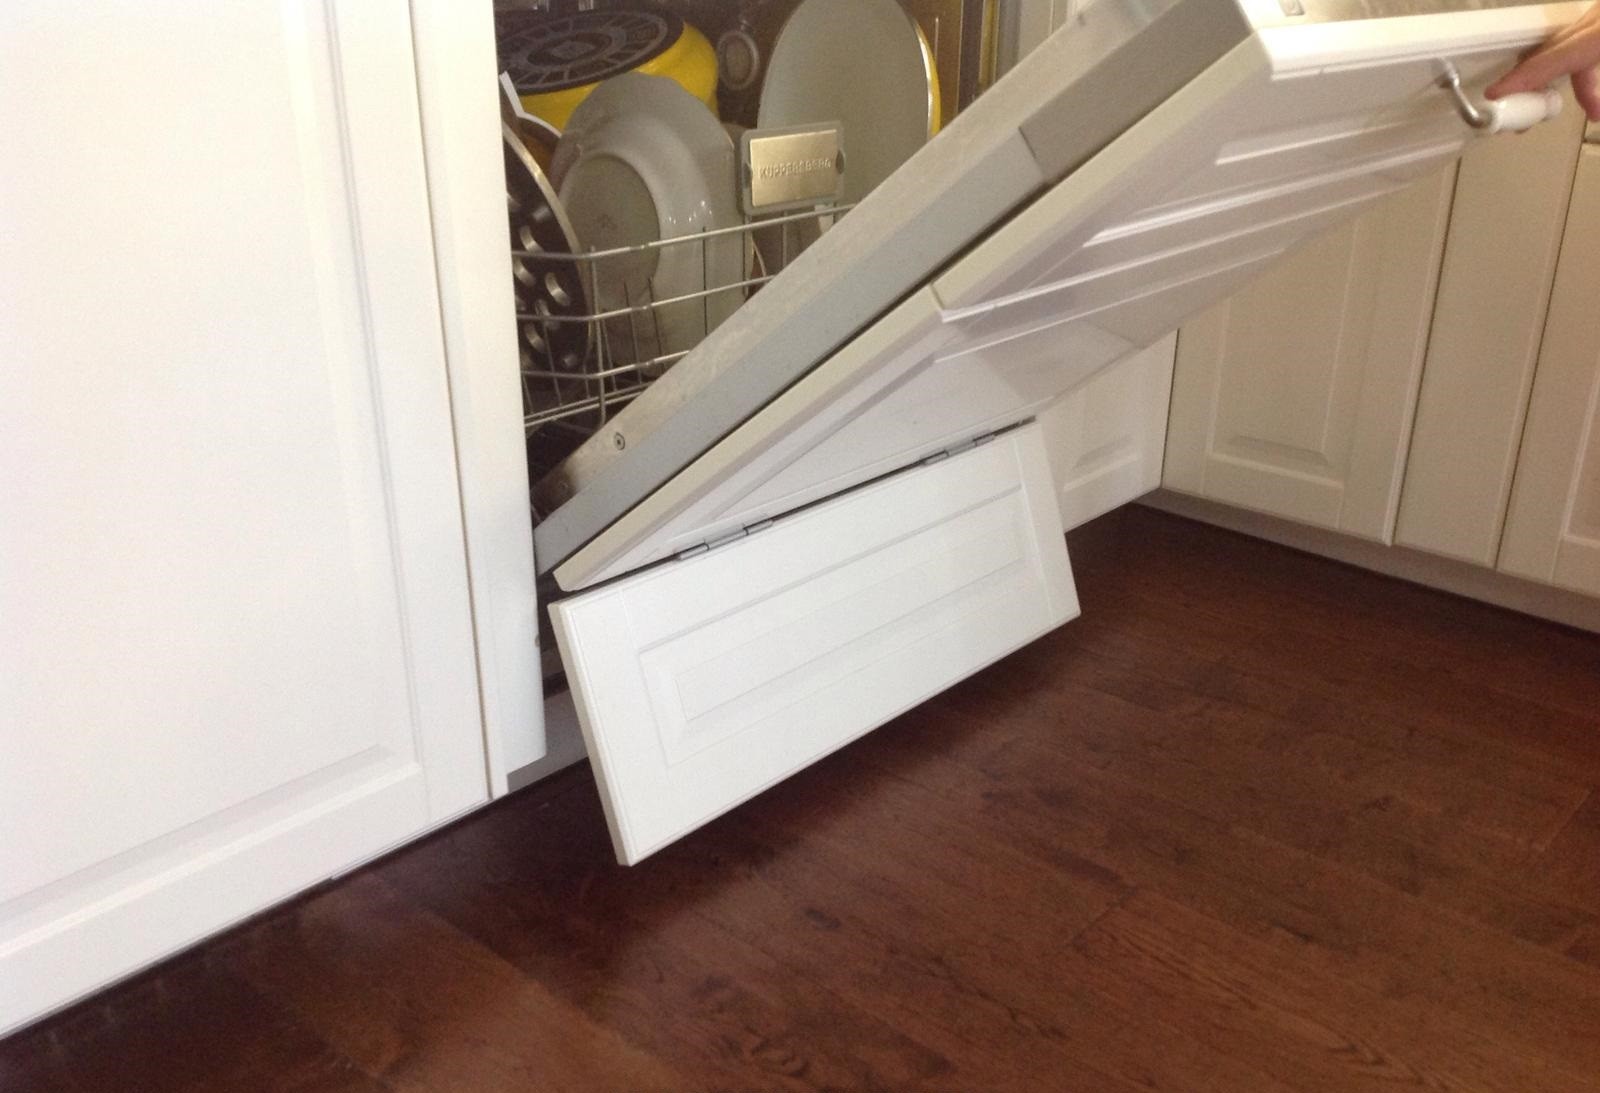
If you make mistakes in the calculations, you will notice that when the sash is opened, the façade rests on the plinth. In this case, you will have to make a small gap in the base (a size equal to the thickness of the decorative panel plus another 2-3 mm). This option will be acceptable, especially when it is impossible to adjust the level by twisting the legs of the PMM.
Interesting:
Reader comments
- Share your opinion - leave a comment




Add a comment