Installing a Whirlpool washing machine
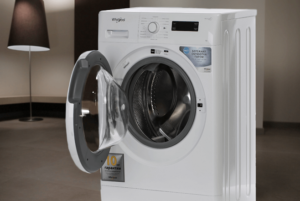 Having bought a new automatic machine, the user wonders whether to connect it with his own hands or invite a service center specialist. It is important to consider that often the manufacturer does not allow owners to install the unit themselves, otherwise the warranty will be void. If you want to install a Whirlpool washing machine yourself, be sure to ask the manager if this will affect the manufacturer's warranty. If not, feel free to get to work.
We make sure that the unit is working properly
First of all, you need to inspect the washing machine in a store. Check that the body of the machine is intact and undamaged - without dents or cracks. Open the hatch door, turn the drum by hand, and see how smoothly and silently the container rotates. Then ask the sales manager to connect the device to electricity - make sure that the control panel is working properly. The indicator on the “tidy” should light up, the programmer should calmly switch user modes.
If you plan to deliver the device yourself, you need to pay even more attention to checking. By signing the documents and paying for the goods, you assume full responsibility for the transportation of goods.
More often than not, buyers prefer to pay for the washing machine and have it delivered to their home. In this case, upon receiving the unit from the courier, you do not need to immediately sign the goods acceptance certificate. Open the packaging and inspect the case again, because it is during transportation that chips and other damage to the walls appear. Connect the machine to the network, check the operation of the dashboard.
If you find dents that were not there before, do not sign the documents, but demand a replacement of the product. It’s better to wait, but get a completely intact and working Whirlpool washing machine. If the automatic machine is delivered safe and sound, you can sign the documents. Make sure you have the seller's contact details so you can contact them if necessary. If not, ask the courier for the store's phone number.
Getting the washing machine ready
After receiving the goods from the store, you should not immediately install the machine. The washing machine should “settle” at room temperature for 2-3 hours. Only after this time can you begin to work.
Before installing your Whirlpool washing machine, be sure to read the instructions for the machine.
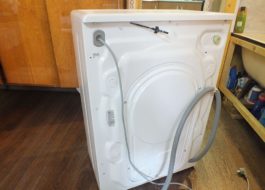
The user manual describes the entire process of connecting the machine to communications, and provides “tips” that will help you complete the installation without errors. First of all, you need to remove the shipping bolts from the housing. They are located at the back and are necessary to secure the tank while transporting the washing machine. It is very important not to forget to remove the transport bolts. Starting a machine with retaining clips remaining will inevitably lead to equipment failure. Such damage to the machine will in any case be considered non-warranty.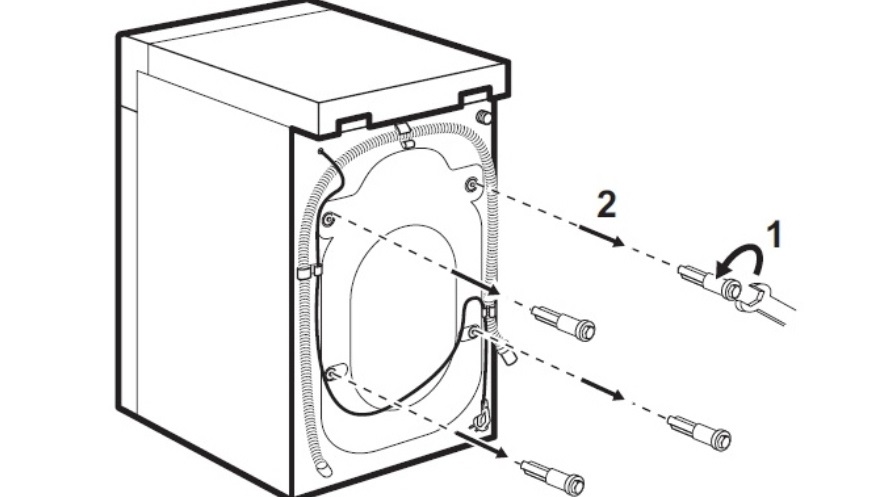
You will need pliers to remove the bolts. The process of dismantling the clamps is described in detail in the equipment instructions. The holes remaining after removing the transport screws are closed with special plugs included in the kit.
Where will your washing machine be parked?
Usually, space for a washing machine is allocated even before purchasing the appliance itself. The machine is selected according to the size of the bathroom or kitchen, depending on where the washing machine will be located.When purchasing a built-in model, make sure that it fits perfectly with the dimensions of the furniture set. It is important to pay attention to the distance of the installation site from house utilities. It is necessary that the hoses of the machine are long enough to reach the outlet points. It is undesirable to lengthen the corrugation - this may negatively affect the operation of the washing machine.
The floor covering under the automatic machine must be smooth and durable.
Ideally, the floor on which the “home assistant” will stand should be tiled or concrete. If it is a wooden covering, it is advisable to pre-strengthen it. It is better not to place the machine on laminate flooring - if there is a leak, the material may swell and become unusable.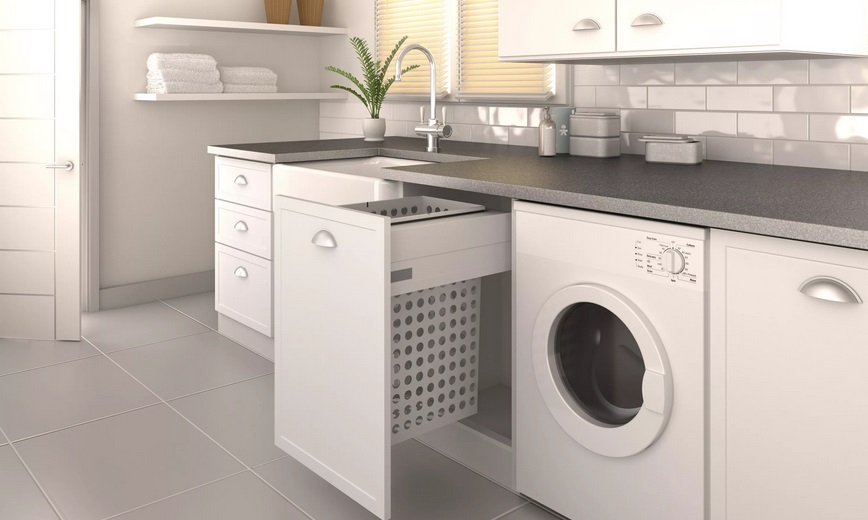
Pay close attention to the outlet
It is very important to think about how the machine will connect to the power grid. The washing machine requires a separate outlet with appropriate voltage and grounding, protection from moisture. Manufacturers prohibit turning on the washing machine through an extension cord - this does not comply with safety regulations. Typically, the length of the Whirlpool machine's power cord is 1.5 meters. Therefore, it is important to provide for the presence of an outlet in the immediate vicinity of the installation site of the “home assistant”.
Grounding at the outlet is necessary to protect users from micro-electric shocks. If you connect the machine through a regular outlet, without a grounding contact, you will feel an unpleasant tingling sensation when you touch the body of a working machine. Of course, they do not pose a serious danger, but they still cause inconvenience to family members.
Water supply
Next you need to connect to the water supply. Typically, the washing machine inlet hose is connected to a cold water supply.There are several Whirlpool models that can be connected to hot water, but such a measure is considered impractical and even harmful to the machine. Any machine is equipped with a heating element - a tubular heater provides the desired water temperature, depending on the specified washing program.
So, connecting to hot water will be fraught with:
- frequent filter clogging. Hot water is more contaminated, so even more impurities will settle on the filter elements;
- deterioration in wash quality. Due to the greater hardness of warm water, clothes are washed worse - you will have to spend more powder to achieve the desired effect.
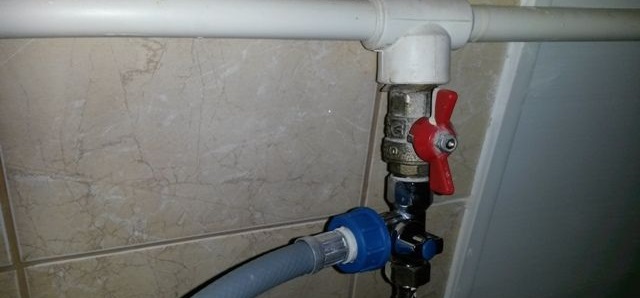
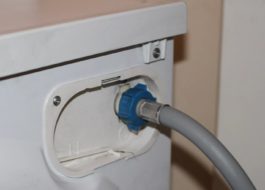
Therefore, be sure to read the instructions. If the manufacturer provides the ability to connect only to cold water, you should not consider other options. This will harm the “home assistant”. Connect the inlet hose to the desired pipe. If another washing machine was previously installed in this place, connecting the new machine will go without problems. You just need to screw the inlet hose to the previous outlet points. Then you need to open the shut-off valve and check if water is leaking at the junction. It is more difficult to connect the machine in a new place. If tapping into the pipe is not organized, you will need to do it yourself or call a specialist.
! For connection, it is important to use the exact hoses that come with the Whirlpool washing machine.
It is advisable that the shut-off valve is always closed outside the washing process. This will avoid leaks. When connecting to a water supply, it is important to pay attention to the pressure in the pipe - the value must match the standard parameters specified in the instructions.
Discharge of dirty water
In addition to connecting to the water supply and organizing a separate outlet, you need to take care of connecting the drain hose. Sometimes people simply lower the corrugation into the bathtub or washbasin, but this method is not only unaesthetic, but also unhygienic. Dirt and debris contained in waste water settle on the walls, and plumbing fixtures become covered with plaque, which must be constantly cleaned off. The correct way to connect to the sewer is to connect the drainage hose to the siphon fitting. The connection should be secured with a special clamp. It is very important to connect the corrugation correctly. According to the instructions, the outlet point to the sewer should be at a height of 50-60 cm from the floor level, and the drain hose should be located at a certain bend.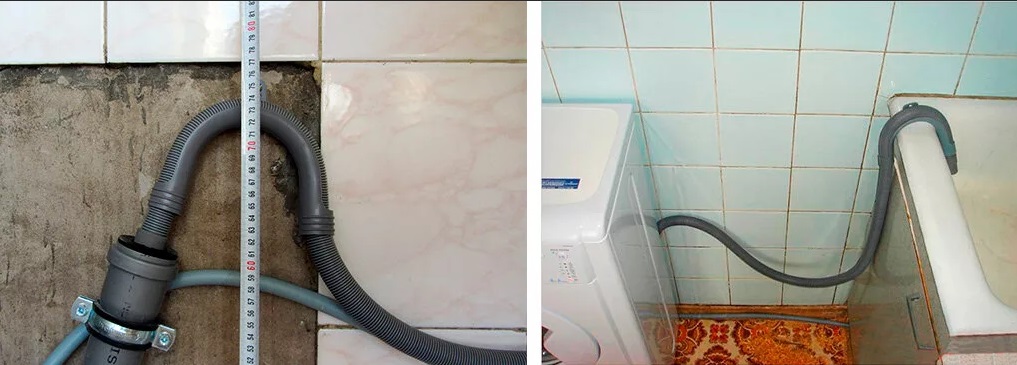
The bend is necessary to prevent unpleasant odors from the sewer from entering the machine. If you place the drain hose straight, the foul odor will penetrate into the machine. The connection height specified in the instructions is also not accidental; if it is neglected, the water will flow out of the tank by gravity. After connecting the machine to the sewer and water supply, all that remains is to adjust the body to the level by tightening the legs. Next, you can run a test wash with an empty drum.
Interesting:
Reader comments
- Share your opinion - leave a comment



Add a comment