How to make a grass cutter with your own hands from a washing machine
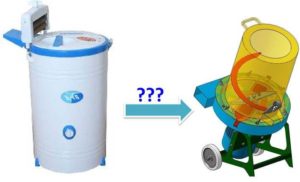 Real gardeners and gardeners know a lot about such devices as a grass cutter and a branch chopper. This is not the only device that such people have in their household.
It is not always possible to buy all the useful devices, which is why people come up with all sorts of ways to make them with their own hands. And today we will describe how to make a grass cutter from an old washing machine.
Preparing parts and tools
In order to decide what you will need to make your own herb chopper, you need to have a good understanding of its structure. In fact, there is nothing complicated about it. In some ways, a branch chopper or straw cutter resembles a food processor. Its main components include:
- a shaft with knives rotating on it;
- electric motor;
- container for grinding;
- receiving tank;
- electrical cable;
- frame.
Based on the design of the three-in-one device: a branch chopper, a straw cutter, a grass cutter, we will prepare the necessary materials. Try to use available materials and tools. So, you need to prepare:
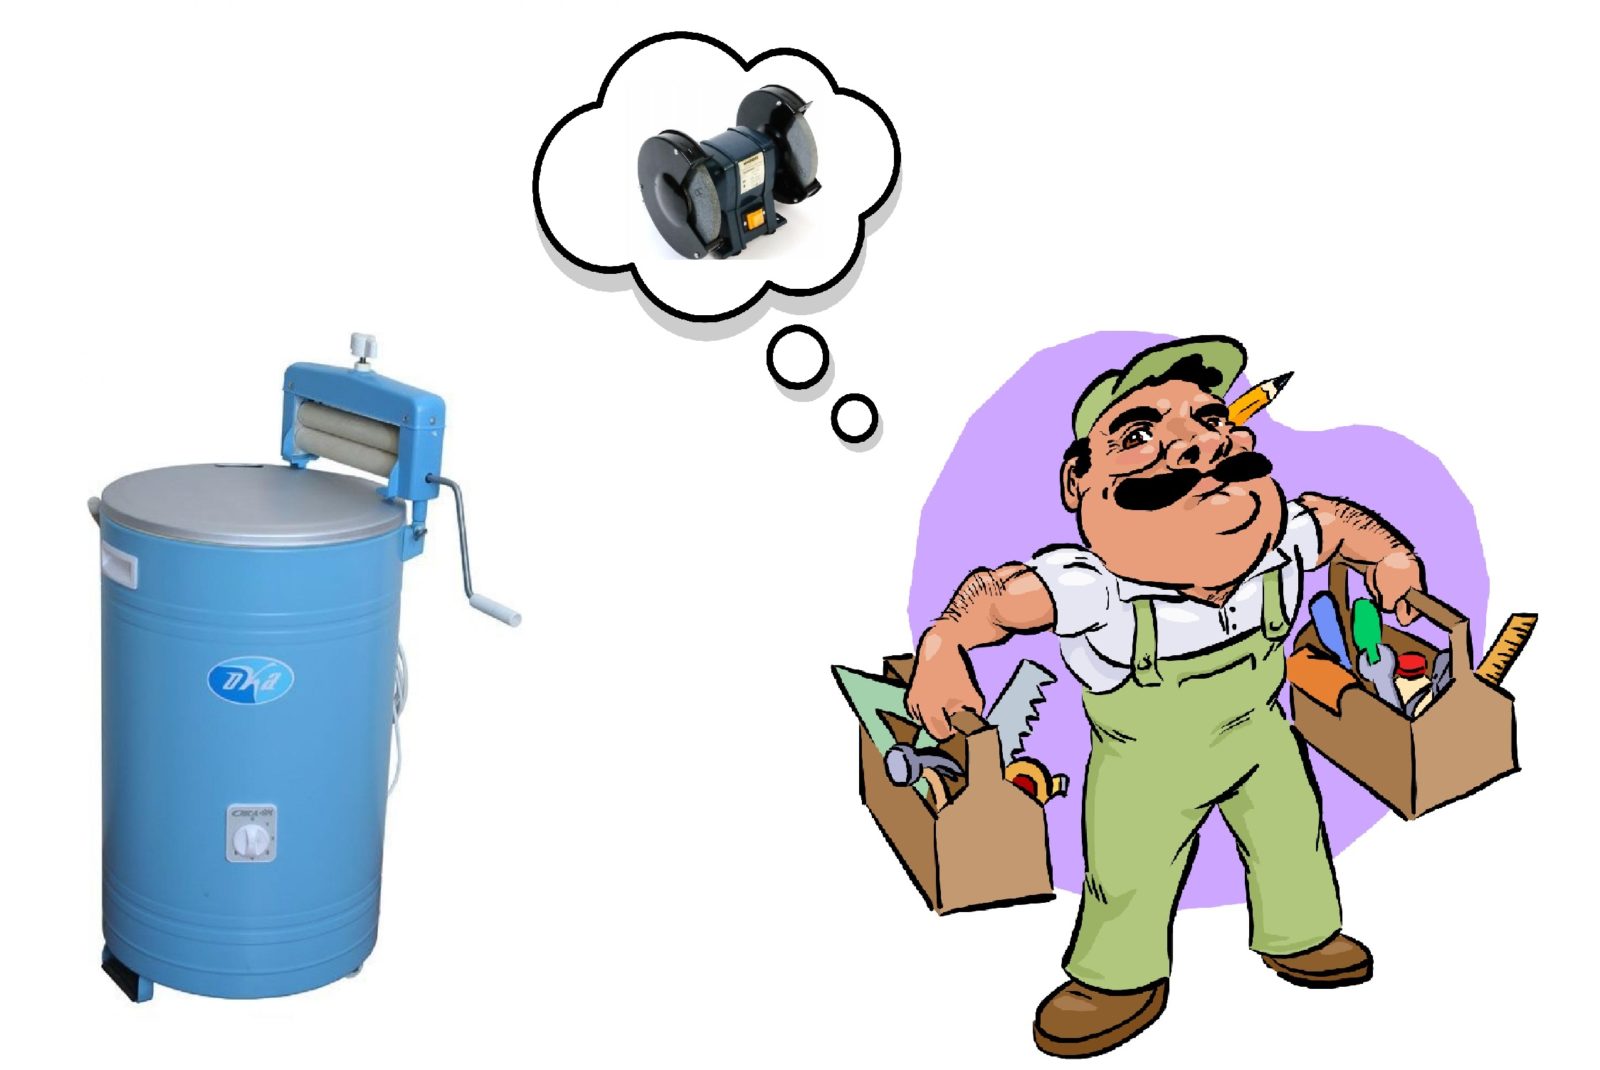
- a metal tank from a Soviet washing machine, for example, from an Oka washing machine; you can use the body from a Typhoon vacuum cleaner as a container;
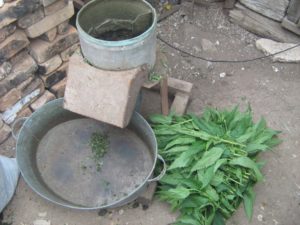
- motor from a washing machine 180 Watt, more is possible;
- an old hacksaw for making knives, you can take a ready-made circular knife;
- electrical cord with plug;
- start button;
- bucket for silage;
- metal corner for frame;
- bushings, nuts, washers, bolts for connecting parts;
- tools: pliers, hammer, screwdriver, grinder, drill.
When choosing an engine, pay attention to its power. A low-power engine can only be used for cutting grass or straw, but you won’t be able to make a chopper of large branches with your own hands.
In order to make your own shredder capable of processing branches thicker than 5 mm, craftsmen suggest choosing a gasoline engine rather than a washing machine engine. This engine is much more powerful.
Assembling the body
Let's start making a grass cutter with our own hands from the top container into which the grass is thrown. And in which it will be crushed. To do this, the body of the washing machine needs to be cut in height, thereby making it more convenient. At the bottom side of the body we make a rectangular hole measuring approximately 20x7 cm so that the knives are located slightly above the hole, or at least level with it.
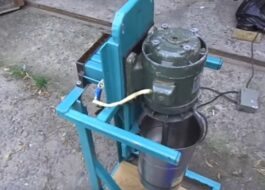
Around the hole you need to make a casing from a metal plate. The cover will prevent grass from flying in all directions. The casing can be secured with bolts. Next, we will make a stand from a metal corner by welding. Its height will depend on what you will be placing under the silo. If it’s a basin, then you can get by with a low stand; if it’s a bucket, then it should be higher.
As for the engine, you first need to make two holes with a diameter of about 7 mm on its shaft using a drill. Then a bushing, also with holes and a thread at the end, is placed on the shaft and secured to the bolts with your own hands.
You will have to order the bushing in advance from a turner if you cannot turn it with your own hands on a lathe. Its length must be at least 50 mm.
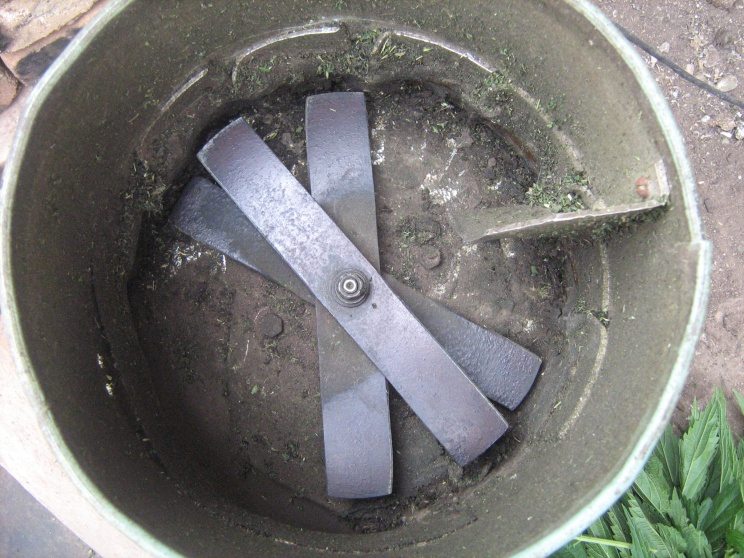
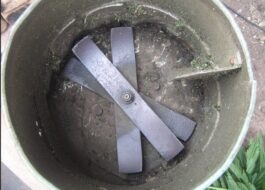
Now you need to secure the engine to the bottom of the tank using studs.Then put the knives cut and sharpened in a special way onto the shaft and carefully secure them with nuts, for example, 32 mm water nuts. Knives should not touch the walls of the container. Next, the container together with the engine is rigidly fixed to the stand by welding. The design must be reliable. The stand for the wood and grass shredder can be covered with a metal sheet, but first connect the starter mechanism and electrical wire to the motor.
Connecting the engine
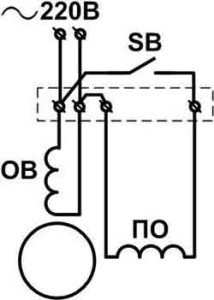 Connecting the motor to the electrical cable begins with finding the starting and operating windings of the motor itself. This is done using a tester. The resistance of the working winding is less than the resistance of the starting winding. When the contacts are found, the connection can be made. This is done like this:
- We connect one end of the starting winding to the wire from the start button;
- connect the second end to the cable and working winding;
- We connect the second end of the working winding to the cable and wire from the start button.
The diagram shows this connection.
When operating a homemade wood chipper, remember the following rules:
- do not add too much straw or grass;
- Do not put damp branches and straw into the chopper, as the mechanism may jam;
- Follow safety precautions when working with electrical appliances so as not to harm your health!
Thus, the simplest chopper or straw cutter from scrap parts is ready. This homemade grass cutter will be no worse than the one you buy in the store. For those who want to make a grass cutter from an automatic washing machine, we have attached a video. Well, if you're interested, what else can be made from machine parts, read the articles on our website.
Interesting:
Reader comments
- Share your opinion - leave a comment





Add a comment