How to remove the ribs of a washing machine drum
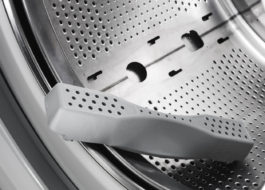
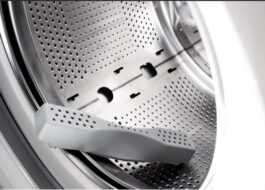
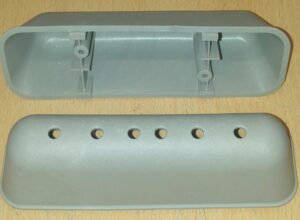 The operation of a washing machine largely depends on its auxiliary parts. Thus, thanks to special protrusions located in the drum, the laundry turns over during washing, which allows the household appliance to keep things clean and remove heavy dirt. These are the ribs of the drum or, as they are also called, “chips”. They can be cast and metal, or plastic and removable.
It is the second type of spare parts that tends to become loose and even come unfastened from its place. In such a situation, it is necessary to remove the ribs of the washing machine drum for subsequent secure fastening of the elements. If you have certain tools, you can do this yourself, without the help of a specialist.
Dismantling and reliable installation of drum ribs
Before starting work, you should prepare the necessary tools. This:
- construction hair dryer;
- small drill with a thin drill bit;
- straight screwdriver;
- construction plastic ties at least 30 cm long.
To remove the rib, you need to move it slightly towards the open hatch door.
To prevent the part from breaking during dismantling and move more easily, its back side should be heated with a hair dryer for 1-2 minutes, and then pulled towards you and upward; factory fasteners and debris may remain under the part - they should be removed from the drum.
The next step is to create holes for new fasteners. A little to the left (about 3-5 mm) from the recess for the factory latches you need to make marks with a marker approximately 0.5 cm long. You need four such marks: near the middle and far latch on both sides of the rib. Now, using a compact drill, you should drill holes of the intended length.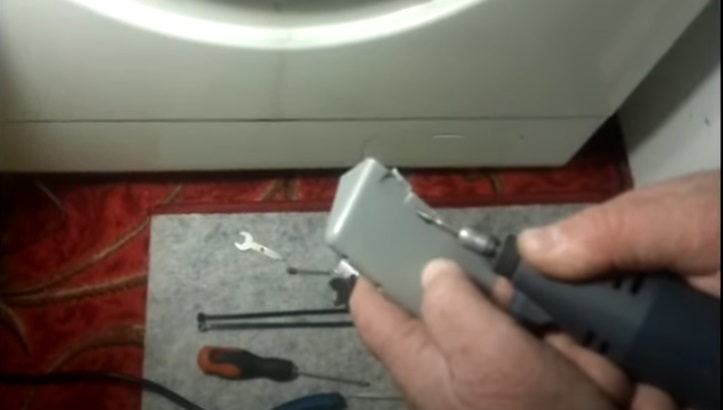
Large construction ties should be inserted into the resulting holes on the left side of the rib so that they hang freely from the middle of the fender. Now you need to correct the eyes - the clamps of the bump stop itself. They are located in the drum itself between the holes for the latches: their correct position is at an angle of 45 degrees. This can be done using a slotted screwdriver.
When the clamps are set, you can begin installing the rib. The free end of the tie must be threaded into the left hole for fastenings and pulled out through the right so that the tie passes under the drum and returns inside. Then thread its free end into the second hole in the rib, drilled on its right side. At this stage, the bump stop should move freely forward and backward.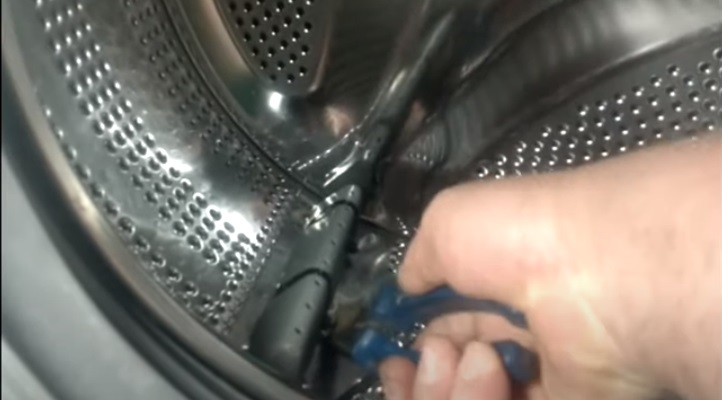
To secure the rib, you need to warm it up again with a hair dryer for 1-2 minutes and fix it on the eyes with a “pull” movement. All that remains is to tighten the ties tightly, “bite off” the excess “tails” with wire cutters and use sandpaper to remove the sharp ends of the cuts. The latter is necessary so that sharp corners do not tear things during washing.
What happens if you remove one dangling edge?
Noticing that one rib in the washing machine is loose, some owners of household appliances are in no hurry to fix it or replace it with a new one. They believe that there are two more bumpers in the drum that perform their task, which means that the absence of a third will not affect the result of the device. This opinion is wrong and there are two reasons for this.
First: it is thanks to the presence of three ribs that the laundry is distributed evenly in the drum during washing, which means that each item is provided with the necessary care and cleaning. If one bumper is missing, an imbalance occurs in the drum, things begin to bunch up in one direction and turn over unevenly. If, at the same time, the shock absorbers in the household appliance are still loose, such an “overweight” in one direction will lead to the washing machine jumping during intensive operation and spinning.
The second reason is possible damage to things. The lugs located under the rib are quite sharp. In the normal state, they are securely closed with an edge, but if the situation changes, clothes begin to cling to them, which leads to the appearance of holes in things.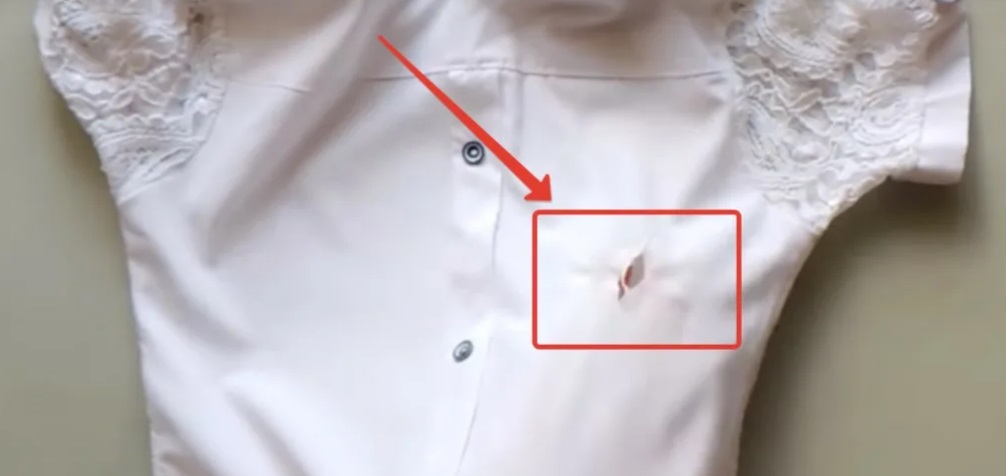
Therefore, you should not neglect the correct and reliable fixation of even such an insignificant part as a drum rib. Until it is secured, it is better to refuse washing: even if the washing machine runs one cycle without damage to things and the appliance itself, the second may well be fatal to your favorite clothes.
Interesting:
Reader comments
- Share your opinion - leave a comment





Add a comment