Replacing a washing machine pulley
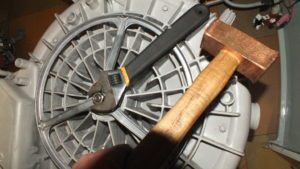 Some breakdowns of automatic washing machines may require replacement of the pulley. The washing machine pulley is a specific part that does not break very often, but if it does, it can create a problem. The fact is that a pulley failure cannot always be diagnosed immediately, especially if you do not know the specifics. In this article, we will try to talk about the problem in more detail so that it arises as rarely as possible in the future.
What part is it and where is it located?
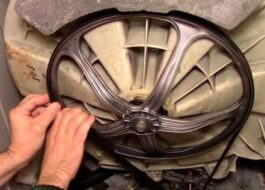
In the language of an amateur, a washing machine pulley is a rather large round wheel that is located behind the washing machine drum. This wheel is equipped with a belt that transmits engine speed to the pulley, causing it to rotate itself and rotate the drum with dirty laundry. The mechanism is quite simple, primitive, but at the same time quite reliable and effective until, of course, it breaks.
Getting to the pulley is quite easy. It is necessary to turn off the washing machine, pull it out of the niche in which it stands and unfold it. To find the pulley, you will either need to open the technical hatch, which is often located on the back of washing machines specifically for repairing the belt and replacing the pulley, or if there is no hatch, remove the rear wall. In any case, unscrew a few screws and you are there, remove the back wall or hatch, and the pulley is in front of your eyes.
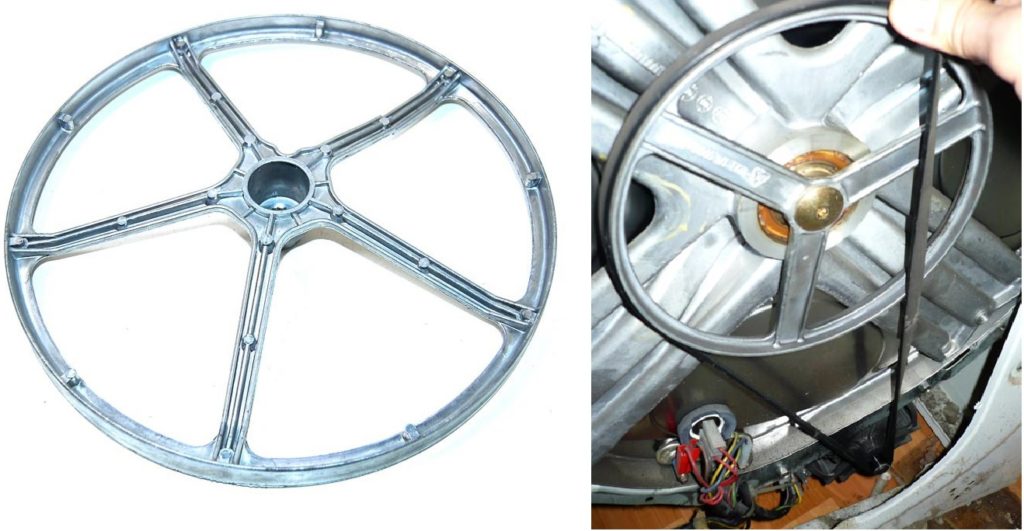
Engine speed is transmitted to the pulley through the belt, which means the belt is the main weak point of the mechanism. Many masters think so, and they are right, but there is one thing. Frequent breaks and slipping of the belt can be the result of a faulty pulley, and sometimes only an experienced eye can notice this fault.
For your information! In very rare cases, the belt will come off and break due to the motor and not the pulley.
How to detect a breakdown?
A sure sign that a washing machine pulley needs to be replaced is frequent problems with the belt. If the belt flew off several times, then stretched out and became unusable, and you changed it and the problem remained, then the problem is not with the belt, but with the pulley.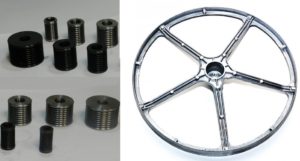
Cheap washing machines made in Russia and China, made from counterfeit parts, quite often have a similar problem. A slightly bent pulley is installed on the washing machine directly at the factory, and then, soon, it begins to “float the brain” of the owner. Sometimes pulleys are made so clumsily that in their working grooves you can see sharp metal burrs and edges, thanks to which the belt wears out in 5-6 washes.
Important! When removing the old belt from the electric motor and pulley of the washing machine, inspect it carefully. Any abrasions, tears and cracks should alert you.
If there are frequent problems with the belt, or the drum rotates too slowly during washing and spinning, you need to check the condition of the pulley. To do this, the pulley does not need to be removed. Do the following:
- remove the back wall of the washing machine;
- remove the belt, to do this, grab the belt with your left hand, and with your right hand, twist the pulley, the belt will come off;
- grab the pulley with both hands and swing it from side to side;
- carefully run your finger along the working surface of the pulley and check it for sharp edges and burrs;
- Inspect the pulley for deformation.
If defects are found: bent or sharp edges, etc., the pulley must be replaced. Do not leave everything as is, otherwise the belt will have to be changed every two months, or even more often.
Replacement
To replace a part, you must first carefully remove the old drum pulley. This can be quite difficult to do, since it is not just put on the drum shaft, but also secured with a bolt, which in turn is not just screwed in, but placed on a sealant. But first things first.
- We disconnect the washing machine from the power supply, water supply and sewerage.
- We take it out to a free place so that it is convenient to work. If there is a barn or workshop, it is better to drag it there.
- Take a Phillips screwdriver and unscrew the screws holding the back wall or service hatch.
- We remove the back wall.
- Next you need to remove the drive belt from the engine and pulley.
- We inspect the pulley to make sure there is damage.
- We take a small wooden block and use it to clamp the pulley and crosspiece. This is necessary so that the shaft and pulley do not rotate and interfere with unscrewing the bolt.
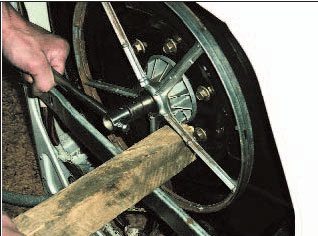
- Now take a blowtorch and heat the bolt a little, but do not heat it red hot. While the bolt is still warm, spray it with WD-40 or similar lubricant.
- We wait a little while the lubricant comes into contact with the remaining sealant, then throw on the wrench and unscrew the bolt.
The bolt may not give in the first time, don’t despair, take a hammer and gently tap the key. Over time, this method will be able to break the bolt, just do not knock too hard so as not to damage the edges.
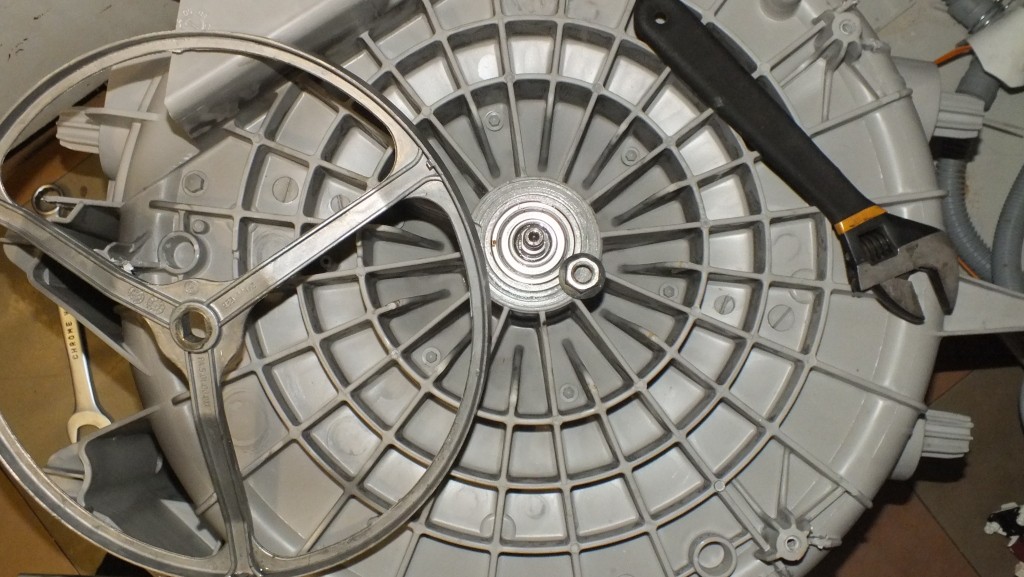 Then all that remains is to remove the drum pulley and continue the repair. The next step is to check the engine pulley. Very often, when problems arise with the drive belt, the cause lies in the engine pulley. It is even more difficult to remove than the drum pulley. You may also need change motor brushes. How to remove the engine pulley?
- First, unscrew and remove the washing machine motor, not forgetting to disconnect the wires from it.
- We take a special puller for pulleys and bearings.
- We clamp the pulley of the washing machine motor with a puller, creating maximum tension. You won’t be able to immediately tear the pulley off the shaft, so don’t break the puller; it costs money.
- We take a gas burner and carefully heat the pulley, while trying not to heat the puller itself and the shaft.
- As the pulley heats up, increase the tension; it should come off. If the gas torch does not produce sufficient heat, use a blowtorch, but handle it with extreme caution.
We are done with removing the drum pulley and motor pulley, now we need to install new pulleys. Installing the drum pulley is not difficult. You just need to put the new part on the drum shaft, lubricate the bolt with sealant and tighten it with a wrench. You will have to tinker a little with the engine pulley.
- We take a blowtorch and light it.
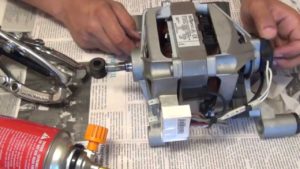
- We wait until the lamp warms up properly and begins to produce the maximum flame temperature. To speed up the heating of the lamp nozzle, you can point the flame of a gas burner at it.
- We clamp the new engine pulley with pliers and heat it with a blowtorch.
- We put the heated pulley on the motor shaft, and then quickly, before it cools down, press it in using a hammer and a metal rod.
Keep in mind that the blows must be applied lightly so as not to break the engine. Typically, hot pressing does not require much effort. Once the pulley has cooled, it will sit securely on the shaft. That's all, all that remains is to put the engine in place, then put on the drive belt and install the rear wall. You can test the car!
Interesting:
4 reader comments



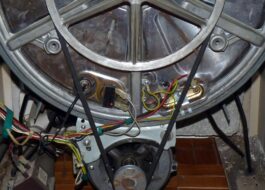


Many thanks to the author for the hint - to heat the tank pulley bolt. The bolt was “sitting” dead. I just did not heat it with a burner, due to the lack of one, but with a SKIL hairdryer at 1800 watts. Before heating, I covered the plastic of the tank with corrugated cardboard, just in case. Then the hair dryer was in the 3rd position (approximately 570 degrees) and heated the bolt for about 2 minutes. Then a gentle blow to the key, and - ... my dear went :)
Further, like yours..., with the only difference that I had an M12x30 bolt, countersunk 90°, with internal. 6 grains to “8”
By the way, I also repressed both tank bearings with the heated bushing.
P.S. Noticed such bullshit. The end of the bushing facing the tank is severely damaged by corrosion. The material of the sleeve, judging by its appearance, is made of third-grade aluminum. alloy, g….o, in other words.
I have a hairdryer for microcircuits - its power was not enough, but I have a camp stove along with hammer blows - they do not leave anyone indifferent! Unscrewed it!)
Masterpiece tips. But what if the pulley is plastic? Should I use a soldering iron or a hairdryer? 🙂
Interesting too