Repairing the water supply valve in a washing machine
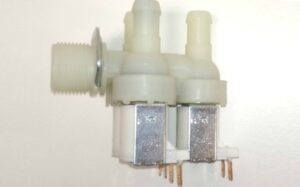 Various “symptoms” may indicate a faulty intake valve. This includes missing or slow water supply to the tank, a puddle under the machine, and difficult powder to get out of the dispenser. Let's figure out how you can check and, if necessary, repair or replace the element yourself.
Getting ready to repair the valve
You can understand that the inlet valve of a washing machine needs repairs based on many signs. As already mentioned, this is a puddle under the body that formed immediately after the start of the cycle, filling the tank when it was turned off, and, on the contrary, the lack of water supply when the machine was operating.
You can verify that the MCA inlet valve is faulty using a multimeter.
Before you begin diagnosing a malfunction, be sure to take basic safety precautions: turn off the power to the washing machine, turn off the shut-off valve. You need to prepare a low basin and dry rags - they will be useful for collecting spilled water.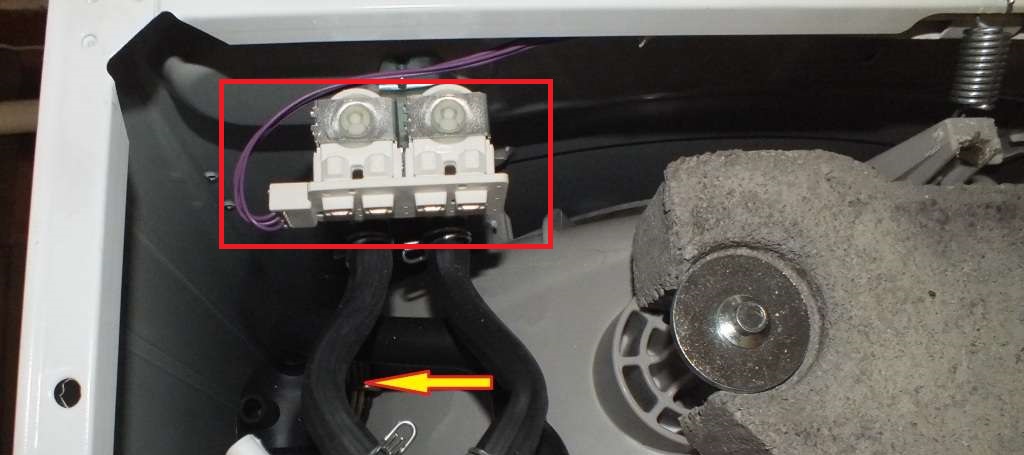
After unplugging the machine, move it away from the wall and drain the remaining liquid from the system through a waste filter. It is located at the bottom of the washing machine, in the right corner behind the decorative panel or service door. Place a basin under the body of the machine, unscrew the “trash can” cap and collect the water in a container. After this, rinse the filter element and put it back in place.
The water supply valve is located immediately under the top cover of the washing machine. Remove the panel by unscrewing the two bolts securing it. Next you need to remove the part itself from the housing. During diagnostics and repairs you will need:
- Phillips and slotted screwdrivers;
- pliers;
- pliers with sharp tips;
- multimeter
Removing the intake valve is very simple. It is necessary to remove the wiring from it and unscrew the fixing screws. We will tell you what parts the element consists of, what is the general principle of its operation.
How does this element work?
The locking device in an automatic machine plays the role of a regular tap. Only it opens and closes not manually, but by a signal from the control module. When voltage is applied to the fill valve, the coil is activated, retracting the rod, thereby ensuring the flow of water through the powder receptacle into the washing machine tank. The water supply valve consists of:
- housings;
- magnetic coil (there may be several of them, it depends on the type of device);
- rod;
- metal spring;
- membranes;
- mesh filter;
- inserts into fittings;
- sealing gasket;
- fasteners

After the user starts the washing program, the control module transmits voltage to the electric coil. She, feeling the impulses, pulls the rod. Due to this, the polyurethane membrane opens, and water from the pipes under high pressure begins to flow into the washing machine. When the tank is filled to the required level, the pressure switch reports this, and the “brain” of the machine turns off the current. The spring returns to its place, the inlet valve closes.
What happened to the inlet valve?
There may be several reasons why the valve stops functioning normally. To repair the element and return the machine to working order, you will have to find out what happened to the device. Let's talk about the main types of breakdowns that can occur.
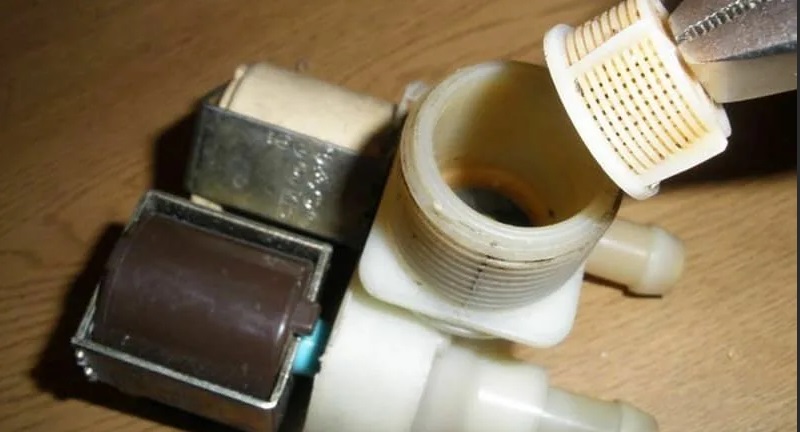
- Filter clogged. Immediately after the inlet hose, at the entrance to the valve, there is a mesh that traps various impurities present in tap water.Over time, it becomes clogged and begins to leak liquid poorly. The mesh can be removed without disassembling the machine. It is enough to grab its protrusion with pliers and pull it towards you. After washing, the filter is put back.
- Membrane contamination. The elastic band also moves up and down with each movement of the rod. If it becomes dirty, it begins to loosely adhere to the valve “seat” and allows water to pass through. To inspect the seal, you will have to disassemble the inlet device. If there is rust on the surface, it must be cleaned off; if there are cracks, the gasket must be replaced.
- Problems with the spring. Over time, the mechanism may break and the rod will no longer move freely up and down. Therefore, if the metal spiral is broken or deformed, it will have to be replaced.
- Cracks on the device body. Typically the valve has a plastic "shell" that can become damaged. If this happens, the water will partially flow out of the inlet element, ending up on the electrical components of the machine. Because of this, the washing machine may receive an electric shock, which can lead to a short circuit. In such a situation, it is necessary to change the part as quickly as possible.
Often the plastic valve body cracks on machines that are kept in a cold room. At subzero temperatures, water freezes and bursts the “shell” of the part. Also, the elastic membrane will no longer be able to retain liquid after such “freezing”. Therefore, if after winter the country washing machine begins to leak, you need to replace the inlet device.
After the water supply valve is removed from the housing, it should be carefully inspected. If you notice that the electromagnetic coils are deformed, immediately replace the element; in this case, it is not worth repairing it. We'll tell you how to diagnose a part.
Testing the valve
The performance of the intake valve largely depends on the solenoid coil. It is this that “activates” the rod, ensuring the flow of water into the system. There are two ways to check it. The first, and easiest, is to use a multimeter. It is necessary to switch the tester into resistance measurement mode and apply its probes to the coil contacts. If the water supply valve is working properly, the device screen will display a value in the range of 2000-4000 Ohms.
If the inlet valve on your machine is a double or triple type, you need to ring each coil separately with a multimeter.
The second method is to apply a voltage of 220 V to the coil. If it is in order, a magnetic field will appear in it and the rod will be pulled up (characteristic clicking sounds will be heard). When the current is turned off, everything will return to its place. This method requires great care, so it is better to use a multimeter.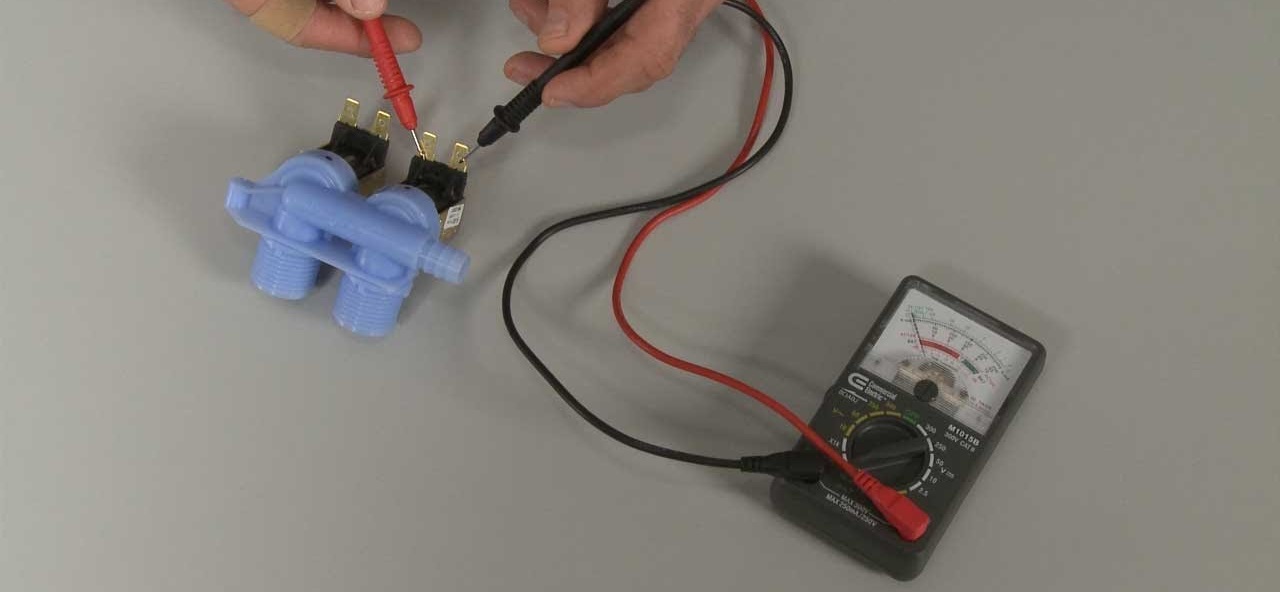
We disassemble and repair the valve
As already mentioned, the valve is located under the top panel of the machine, in the left corner. To repair or replace an element, you must remove it from the housing. Therefore, you need to unscrew the two screws holding the “lid” of the washer. Next, the wiring is disconnected from the water supply valve. Before removing the terminals, it is better to photograph the connection diagram. This will help you avoid mistakes when reassembling. The element is disassembled as follows:
- remove the coils by prying them from below with a slotted screwdriver;
- Using pliers, carefully pull out the rods. When parts do not give in, you need to treat them with WD-40 aerosol lubricant and try again;
- take out the metal rod with the membrane and spring.
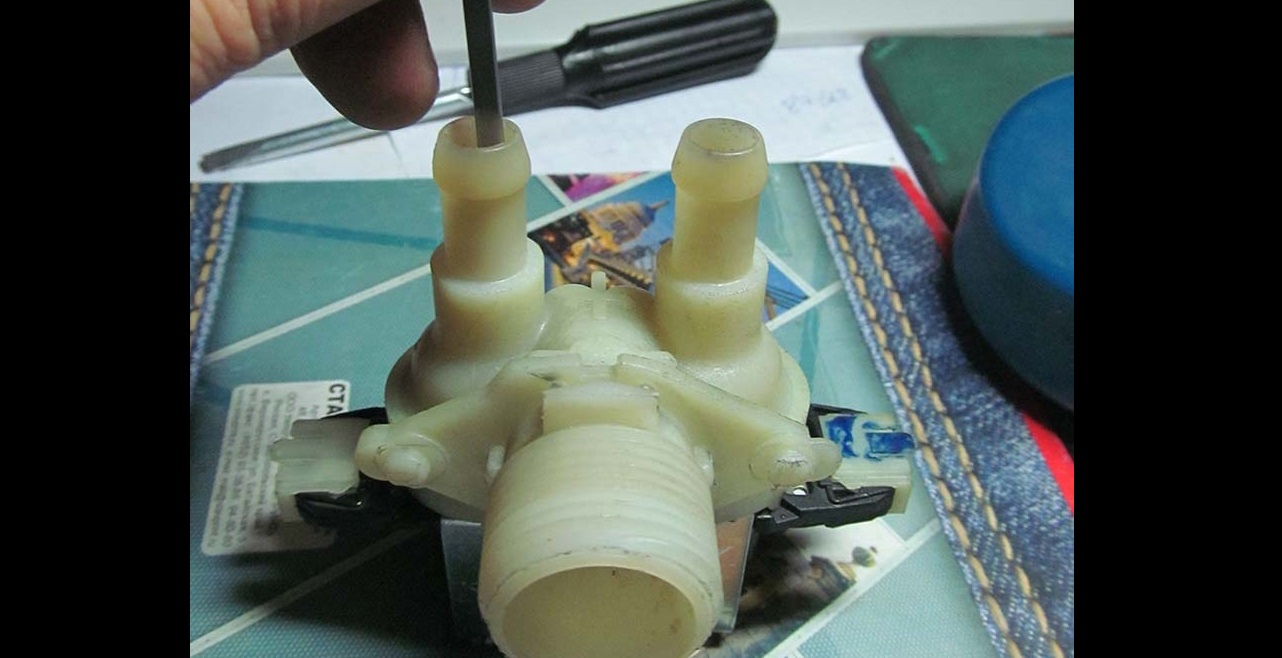
The solenoid valve has been disassembled - now you need to carefully inspect each of its components for defects, plaque, rust, and blockages. Clean all elements of the device and reassemble it in reverse order. If you find that any components of the valve are broken or deformed, replace them yourself. For example, install a new membrane or spring. Some difficulties may arise with the selection of spare parts - but they can always be ordered online.
Having identified a breakdown beyond repair, it is better to buy and install a new inlet valve. For example, noticing that the electromagnetic coil is deformed. In this case, you should not save and risk the “health” of the machine’s control module.
Interesting:
Reader comments
- Share your opinion - leave a comment





Add a comment