Checking the washing machine pump impeller
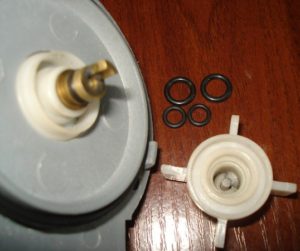 If the washing machine periodically “slows down” with draining or displays the corresponding error code, then it is worth checking the impeller of the drain pump. Practice shows that in 99% of cases this is what leads to difficult emptying of the drum. There is no need to blame the pump for the problems: it tries to pump water out of the machine, but due to a blocked or fallen “wheel” it does not produce the proper result. The breakdown cannot be ignored; it is better to carry out diagnostics and check the impeller as soon as possible.
Let's study the impeller without disassembling the machine
Most often, checking the impeller does not become a burdensome task. The user does not even have to disassemble the machine - he just needs to empty the drum and carefully inspect the “wheel”. Therefore, if you hear a suspicious noise in the lower right part of the case, it is better to play it safe and carry out an initial diagnosis. It is likely that the blades of the described part were damaged. The washing machine pump impeller is checked as follows.
- Use a screwdriver to pry it off and remove the technical hatch cover at the bottom of the washing machine body.
- We find a round black plug - a garbage filter.
- We place a container under the filter to collect water and cover the area around it with rags.
- We take the protruding part and unscrew the spiral counterclockwise.
Be prepared for dirty water to flow out when you unscrew the drain filter.
- Use a flashlight to illuminate the vacated hole.
- We inspect the impeller and try to spin it.
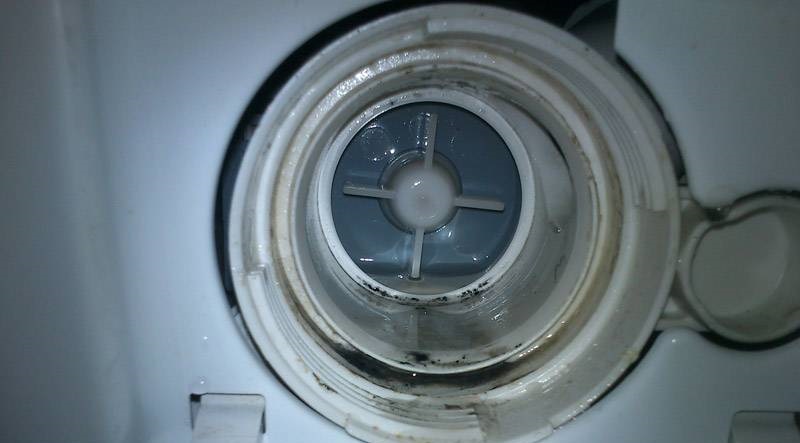
If foreign objects are noticed inside the hole, they must be removed.Then we twist a long thin wire into a hook and try to unwind the impeller. Ideally, the blades should spin with effort.
When the impeller does not spin at all, you need to take a closer look at the space surrounding it. There may be hair caught on the blades or a coin caught in the wheel. If the part rotates absolutely freely, then the problem is a weakened fixation. In this case, you will have to disassemble the washer and repair the pump.
Removing and inspecting the pump
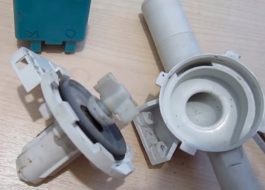
If the wire is unable to “unlock” the impeller or the blades are damaged, you cannot do without disassembling the washing machine. It will not be possible to thoroughly inspect the part through a small hole, so it is better to remove the pump and carry out a full check. You need to act through the bottom. The impeller and pump are removed like this.
Remember safety precautions and disconnect the washing machine from communications before any manipulations.
- We disconnect equipment from communications, sewerage, water supply and electrical networks.
- We drain the water according to the algorithm described above.
- We provide free access to the machine, moving it away from the wall by 1-1.5 meters.
- Cover the space with rags.
- Carefully turn the washer onto its right side.
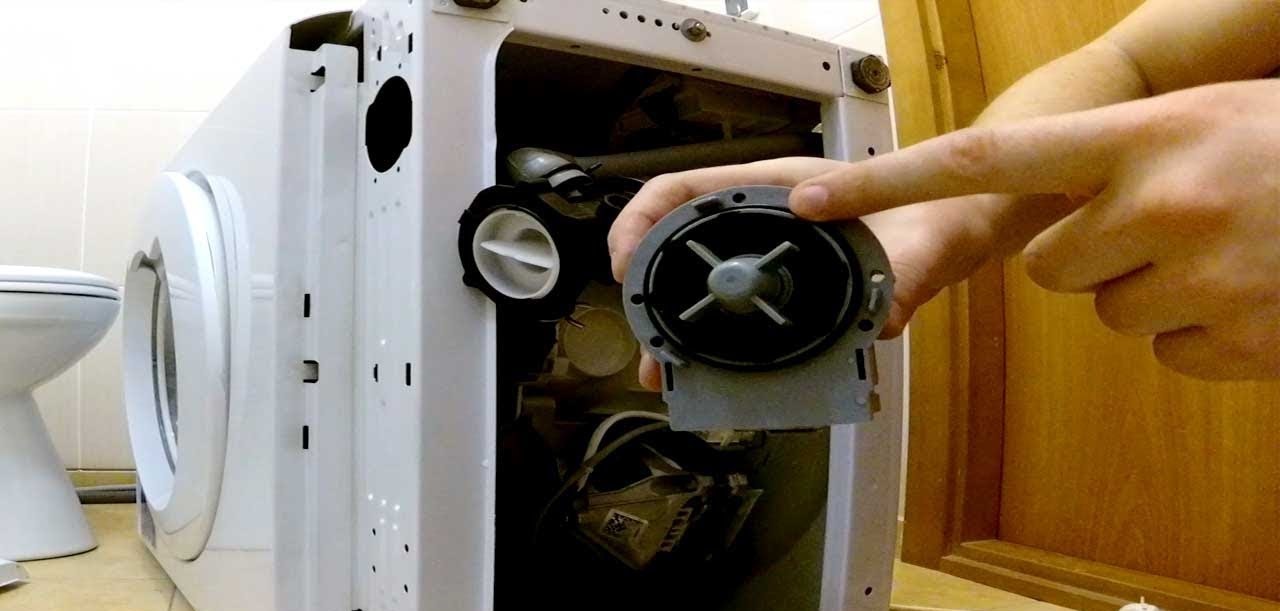
- If there is a tray, unscrew the bottom, not forgetting about the wiring there.
- We unscrew the bolts holding the pump and release the supplied wires.
- Carefully rock the pump and, turning left and right, pull it out of the housing.
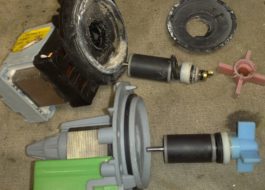
Now we check the movement of the impeller and the wear of the bushings. First, we turn the blades with our fingers, and then we shake them to the sides. If play is noticed, then the permanent magnet on the rotor has weakened and the part needs to be replaced. If there are no visible faults, we put the pump aside and begin testing the machine.
Let's call the details
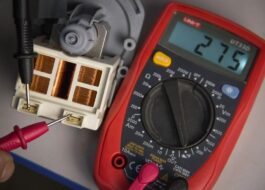
The impeller may be faulty due to an internal winding break in the pump. To refute the version, you need to turn off the power to the washing machine, remove the contacts from the pump, turn on the multimeter to evaluate Ohms and apply the probes to the motor contacts. We wait a few seconds and compare the indicators on the scoreboard. Normally, the numbers should not exceed 150-260 Ohms.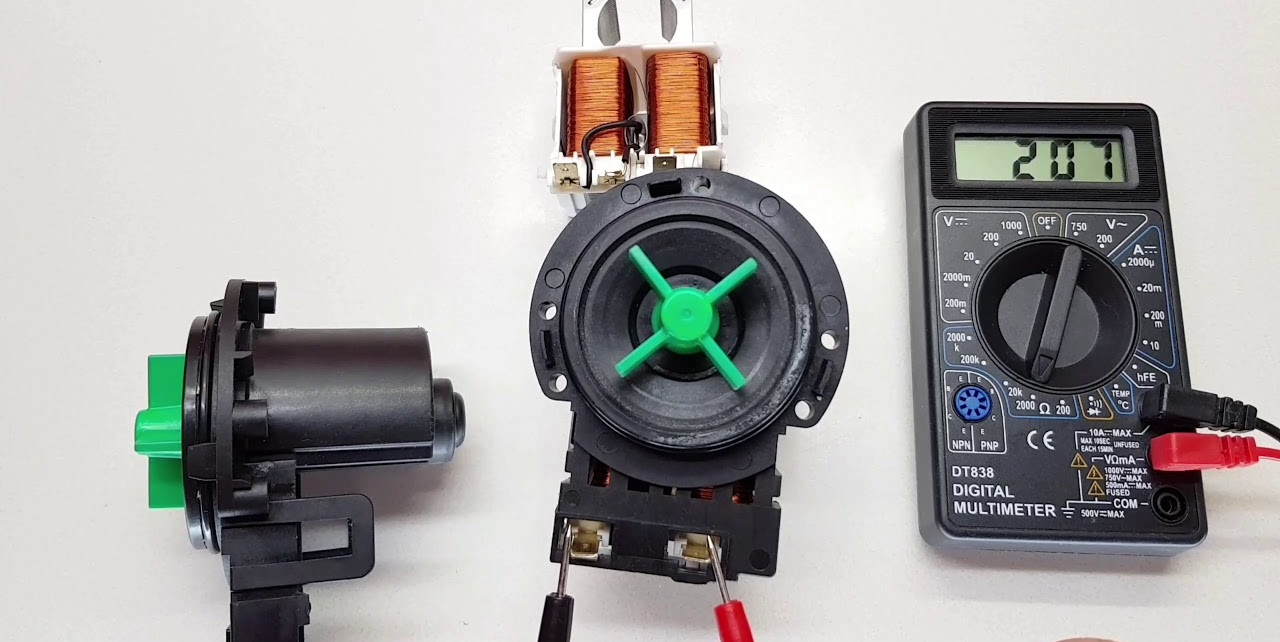
If the screen shows “0”, then a short circuit has occurred. A significant excess of the norm indicates a broken winding or a faulty stator. In any case, the pump will have to be replaced. Repair in this case is too complicated and expensive: it is much more profitable to dismantle the old device and install a new one. But don’t rush to return the pump to its place - there is still one more test left.
Testing the pump
You can identify the problem of a “braking” drain with one more test. This check will once again check the functionality of the equipment and, most importantly, help ensure that the control board is in good working order.
We disconnect the machine from the power supply, add water through the dispenser to the tank (or do not drain it initially) 4-5 cm from the bottom of the drum and begin testing.
First, remove the end of the machine, providing access to the pump terminals. Afterwards, we release the chip and connect a separate wire with a plug to the unit. After checking the reliability of fixation and autonomy of the contacts, we insert the cord into the socket and look at the reaction of the machine. If the tank is empty, then the pump is fully operational, and the problem must be looked for in the control board or electronics.
Part replacement features
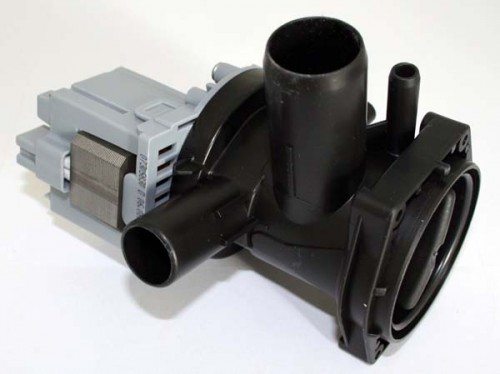
The new pump is selected from original spare parts. If you cannot find a replacement from the manufacturer, you will have to be content with analogues with similar characteristics. When selecting, you must consider: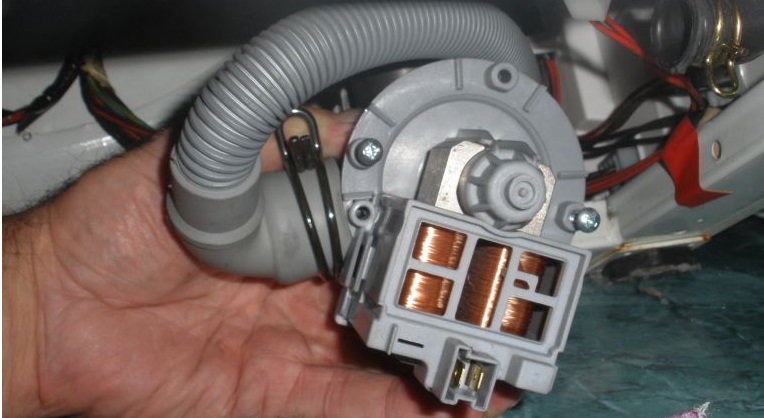
- pump power in watts;
- type of fixation to the cochlea (latches or bolts);
- number of slots for fixing latches or bolts;
- type of electrical connection (chip or terminal, together or separately, front or rear).
We also look at the company. Leili, Askoll, SKL, Copreci pumps from China and Italy are considered interchangeable. If in doubt, it is better to contact professional repairmen.
Interesting:
Reader comments
- Share your opinion - leave a comment



Add a comment