How to check the motor of an Indesit washing machine?
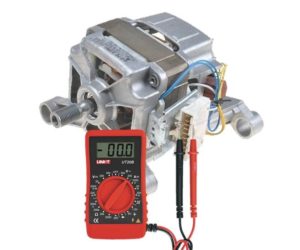 If the washer refuses to start the wash and rotate the drum, then extensive diagnostics are required: from checking the belt with electronics to the wiring and engine. With the latter, it is better to contact a professional, but with the proper experience and diligence, you can check the engine of an Indesit washing machine without special training. The main thing is to act carefully and not deviate from the instructions.
Testing the engine
When you decide to test the engine yourself, you need to carefully study the design of the motor. Washing machines from Indesit are equipped with a collector-type motor, which is distinguished by its compactness and high power. An integral part of the device is the drive belt, which connects to the drum pulley and starts the rotation process.
As for the internal mechanism, several separate parts are hidden under the body: a rotor, a stator and two electric brushes. The tachometer located on top controls the speed in revolutions. Experts use several methods to check engine performance. But first you need to get it out of the washing machine.
- Remove the back panel of the washing machine by unscrewing the bolts around the perimeter.
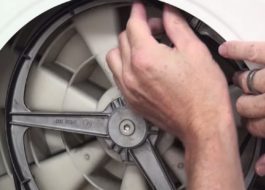
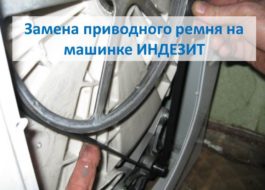
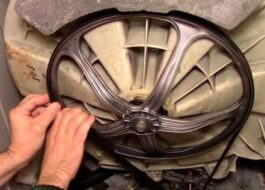
- Loosen and remove the drive belt while rotating the pulley.
- Disconnect the water supply connected to the engine.
It is recommended to take photographs of the connected wiring before disassembling the machine to avoid errors during reassembly.
- We unscrew the holding bolts and, rocking the engine to the sides, pull it out.
Now let's start diagnostics. We connect the wires from the stator and rotor windings, and then apply a voltage of 220 Volts to them.If rotation is noticeable, then the test was successful and the device is functioning properly.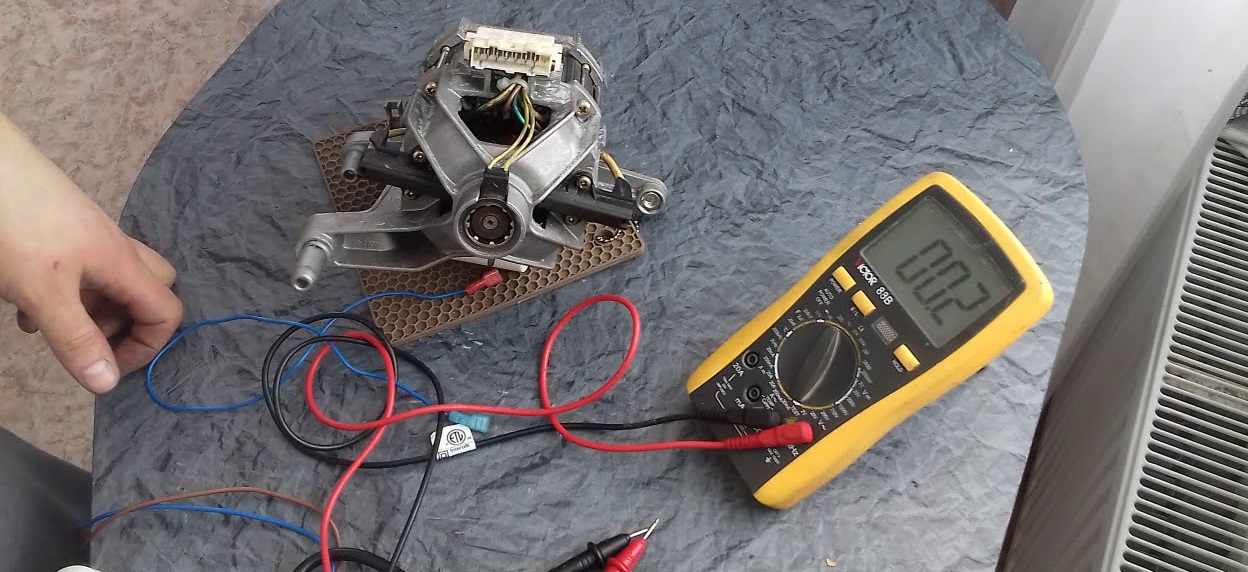
But the described verification tactics also have disadvantages. Thus, it is impossible to fully test the engine, especially if it will subsequently operate in different modes. Another possible risk is the device overheating due to direct connection, which can cause a short circuit. But it’s easy to reduce the likelihood of a breakdown if you include ballast in the circuit in the form of a heating element from an automatic machine. When shorted, the heater will heat up, taking the entire blow, thereby protecting the engine. But this is only the first stage of testing, since other elements of the electric motor are next in line - brushes, lamellas and windings.
Let's check the condition of the brushes
Be sure to pay attention to electric brushes. They are located on both sides of the housing and smooth out the friction force emanating from the engine. The carbon tips take the hit, which wear out over time and require replacement. To check them, we take the following steps: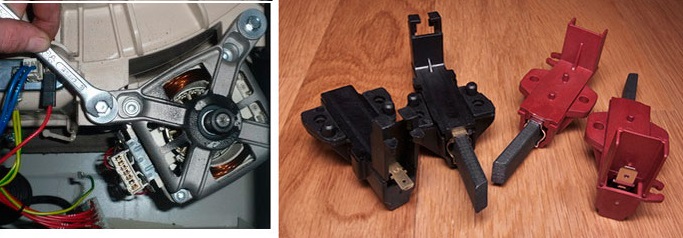
- unscrew the holding bolts.
- compress the spring and remove the brushes.
- disassemble the body of each brush.
- We evaluate the condition of the carbon tips. If their length is less than 1.5 cm, we replace them with new ones.
Electric brushes are always replaced in pairs, even if one of them is completely new.
If the brushes are worn out, you need to purchase new ones. Ideally, you should take old samples to the store and buy similar parts. The electric brushes are installed in the reverse order according to the already familiar instructions.
Lamels and windings
The lamellas are responsible for transmitting the electrical discharge to the rotor. They are attached with glue directly to the shaft, but if the electric motor jams, they can collapse and peel off.If the detachment is minor, then you can do without replacing the engine by using a lathe and fine sandpaper.
Damaged lamellas have peeling and burrs.
If there are problems with the winding, the engine either cannot accelerate to maximum values, or does not start at all. The fact is that a short circuit occurs, the motor begins to get very hot, the temperature sensor detects overheating and urgently shuts down the system. If the problem is not corrected, the vicious circle will continue until the thermistor breaks. Check the condition of the winding with a multimeter.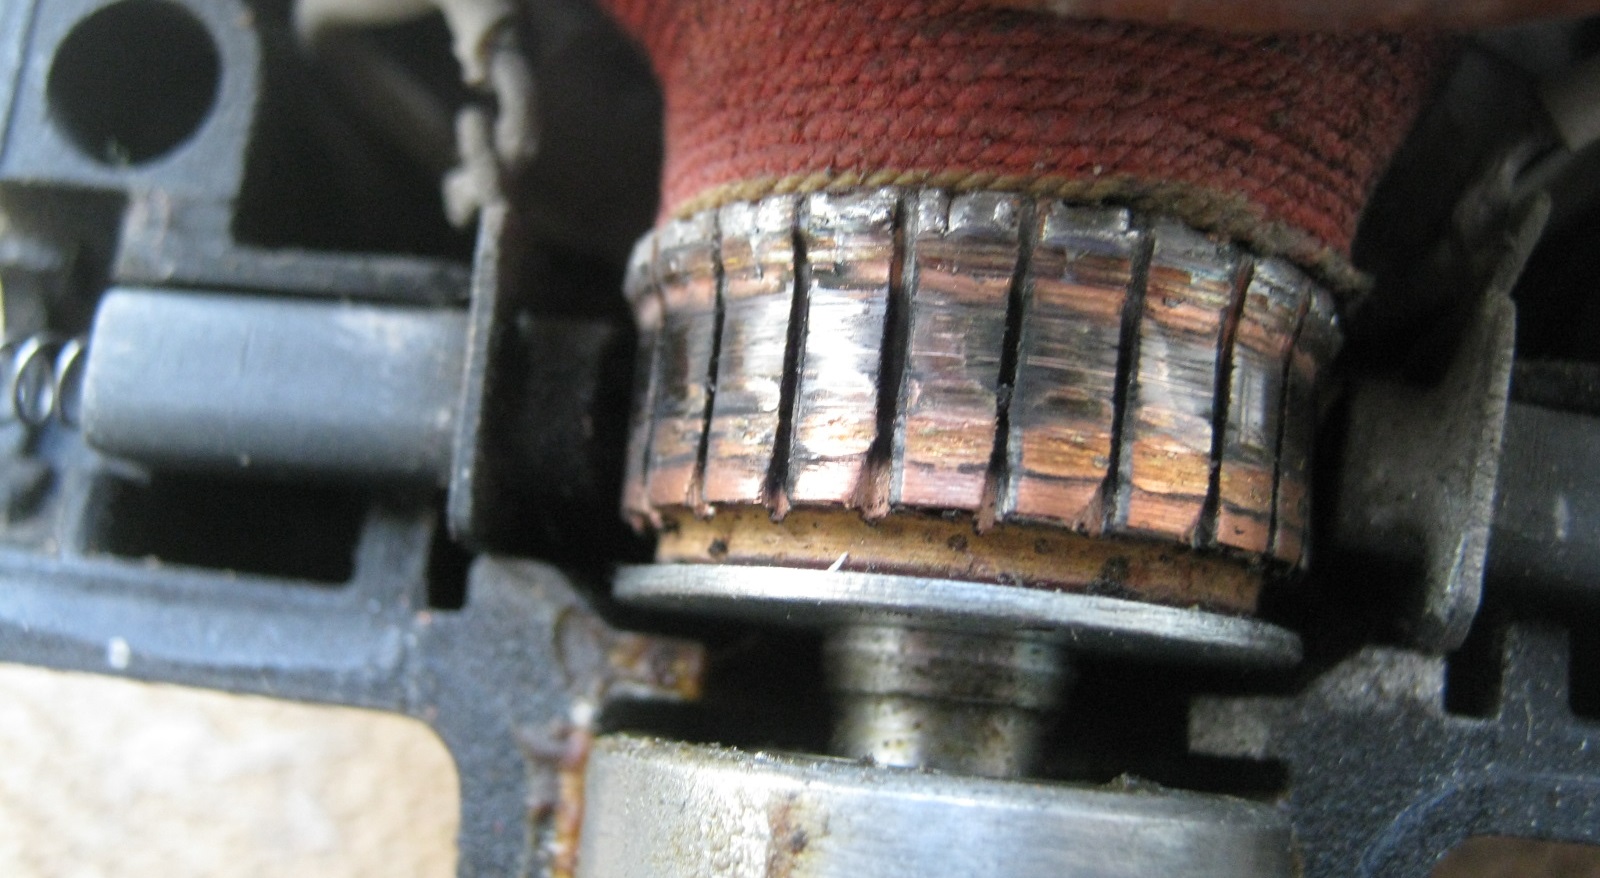
- The tester switches on to the “Resistance” mode.
- The probes are applied to the lamella.
- The value on the display is estimated, which is normally 20-200 Ohms. If the number is lower, then the problem is a short circuit; if the number is higher, it means a break.
The stator is also checked with a multimeter in buzzer mode by alternately applying probes to the winding. If the device is silent, then everything is in order. If you discover a winding problem, do not rush to repair the engine - it is useless. It's easier and cheaper to buy a new motor.
Interesting:
Reader comments
- Share your opinion - leave a comment



Add a comment