How to check the motor of a Bosch washing machine?
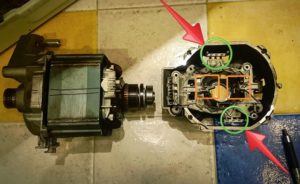 If, after pressing the “Start” button and adding water, the Bosch washing machine remains motionless, it means that the drum cannot spin. It is impossible to immediately name the reason for the braking: you will have to carry out comprehensive diagnostics from the drive belt to the circuit board and motor. It’s better not to deal with the control module at home - it’s too risky, but almost anyone can handle the engine without special training. You just need to follow the given instructions.
Removing and testing the motor
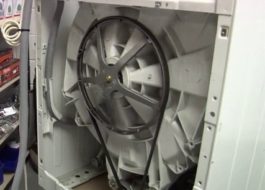
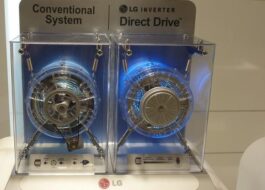
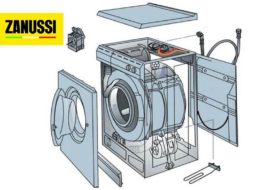
Almost everyone can check the engine of a Bosch washing machine, but before starting work it is recommended to get acquainted with the “object”. All Bosch models are equipped with compact and powerful brushed motors, which, unlike inverter motors, require a drive belt. An elastic band connects the drum pulley and the engine, allowing the mechanism to unwind.
The internal structure of the motor consists of a rotor, stator and winding. Electric brushes are attached to the body, and next to them is a tachogenerator that controls the acceleration speed. Having become familiar with the design of the engine, you can begin to check it. But before testing, you will have to remove the device from the washing machine.
We proceed like this:
- remove the back wall of the case by unscrewing the corresponding fasteners;
- disconnect the drive belt, turning the pulley with your second hand while tightening it;
- unhook the connected wiring;
- loosen the holding bolts and, rocking, remove it from the seat.
Before disassembling the washing machine, read the factory instructions and electrical documentation.
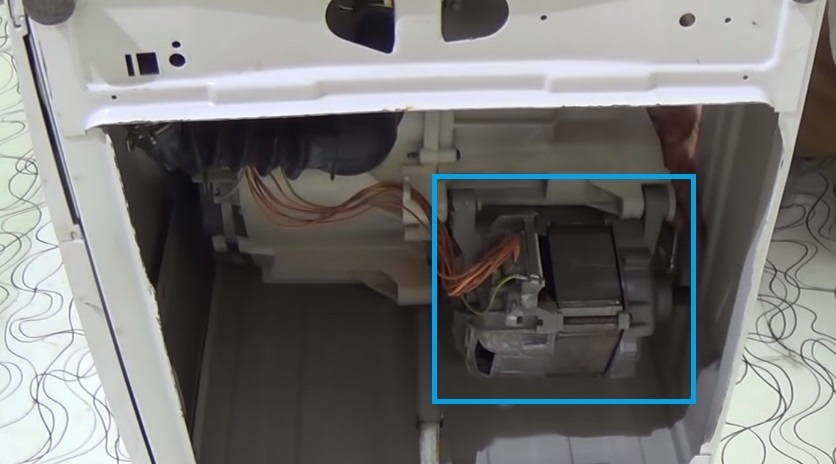
Then we move on to checking the motor.We throw a wire from the rotor winding to the stator, and then apply a voltage of 220 Volts to the circuit. The start of rotation of the engine will indicate the operability of the unit, the lack of reaction will indicate that a breakdown has occurred.
Testing an engine with voltage also has its drawbacks. For example, in this way it is impossible to test the ability of the motor to operate at different speeds. The second “minus” is a high risk, since direct connection is fraught with overheating of the device followed by a short circuit. True, you can reduce the likelihood of damage to the electric motor by connecting a heating element, which will heat up when a current leaks, thereby protecting the engine.
Engine testing is not limited to just one check. It is also necessary to evaluate the condition of the electric brushes, lamellas and windings.
Be sure to check the brushes
Electric brushes are often to blame for drum brakes. There are two of them, they are attached to the sides of the motor and smooth out the friction force emanating from the device. These are rectangular metal “cases” with carbon tips inside. During operation, the “coals” are worn out and need to be replaced.
The technician’s task is to check the length of the carbon tips. To do this, the brushes are removed and inspected according to the following scheme:
- unscrew the screws holding the cases;
- clamp the springs and unhook the electric brushes;
- unclip each case;
- measure the length of the “coals”.
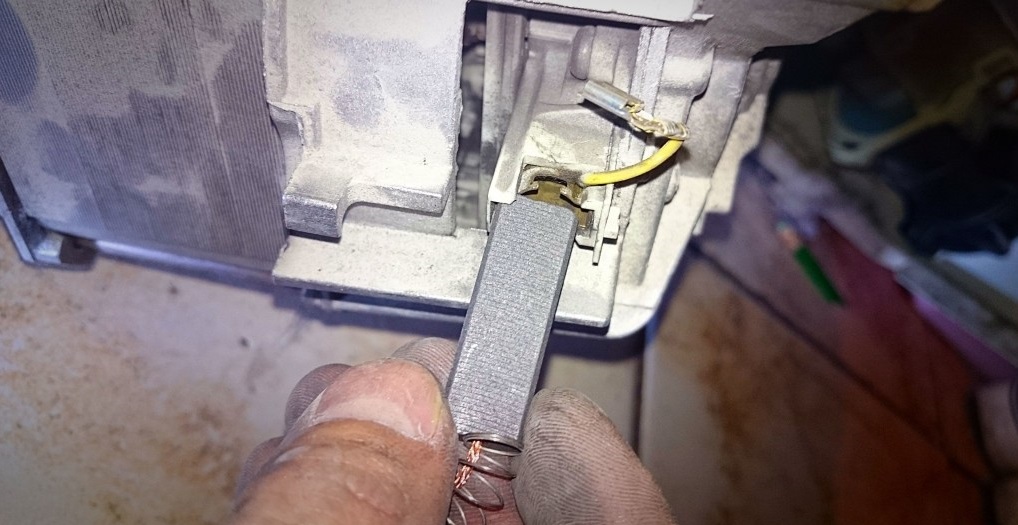
The minimum length of the attachments is 1.5-2 cm. If the brushes are worn out more, then replacement is necessary. Only a couple of parts are changed, even if the second one is practically undamaged. Analogs are selected based on the serial number of the engine or washing machine. In order not to make a mistake with the choice of components, it is recommended to come to the store with dismantled samples.
Other engine parts
The lamellas and winding also require checking. The first are metal plates that transmit electricity to the rotor. They are glued directly to the shaft, but over time they can peel off, interfering with the transmission of current. In case of minor detachment, grinding is indicated; in case of severe detachment, only replacement of the engine is indicated.
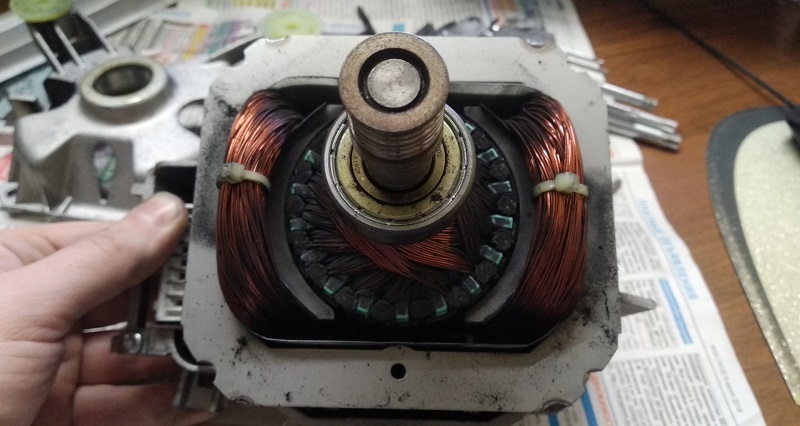
Next in line is the winding. If there is a break, a short circuit occurs, the motor overheats, the thermistor is triggered and the mechanism is switched off. Check the integrity of the wiring with a multimeter:
- enable resistance measurement;
- place the probes on the motor shaft;
- we compare the result with the norm of 20-200 Ohms (if less than 20, the fault is a short circuit, more than 200 - a break).
The stator is also tested, only with a buzzer. Having detected a broken winding, repairs are not enough - the motor needs to be replaced.
Interesting:
Reader comments
- Share your opinion - leave a comment



Add a comment