How to connect the motor from an Indesit washing machine?
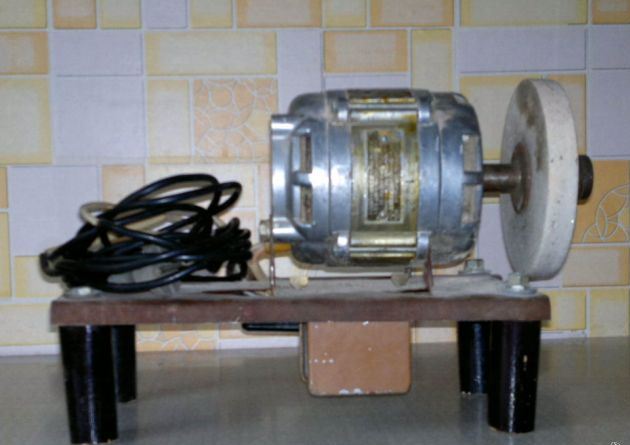
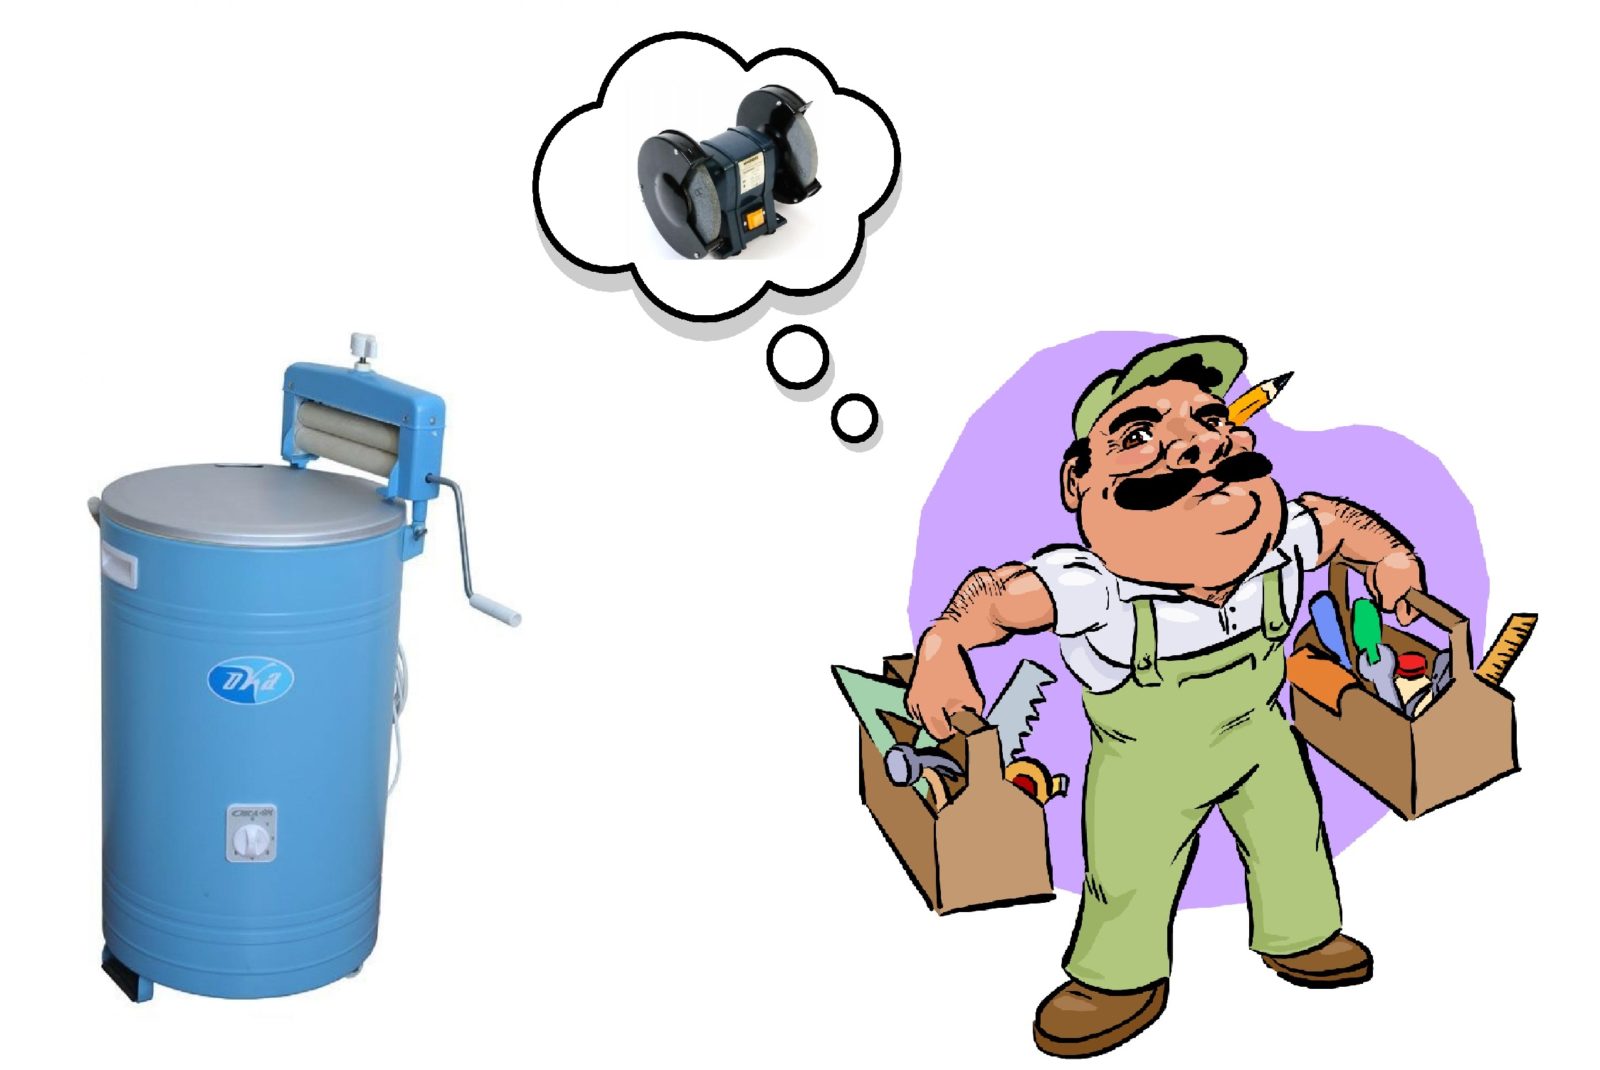
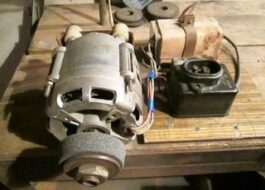
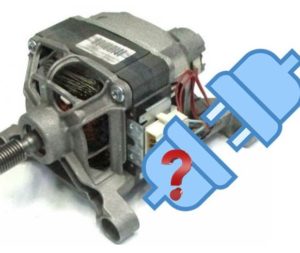 The electric motor from the Indesit washing machine can be used even after the machine has failed. For example, you can make an electric emery out of a motor. And this is a very useful thing in the garage or in the country. To assemble the structure, you will have to attach an emery stone to the motor shaft. It will rotate around its axis and will allow the owner to sharpen table knives, garden shovels, axes, etc. You can come up with other ideas for using the engine - there are many devices that require rotation. Let's think about how to connect the motor from the Indesit washing machine to make it spin.
Need a diagram
If you have found a use for the working motor from an automatic washing machine that has become unnecessary, you should figure out how the motor is connected to the electrical network. Before starting work, you need to carefully study the electrical connection diagram of the engine and understand how it worked in the washing machine.
Connecting the electric motor occurs quite quickly, it does not take much time. Initially, it may seem that there are too many wires coming from the engine. However, after analyzing the diagram presented above, you will understand that not all of them will be used. You will have to work specifically with the rotor and stator wires.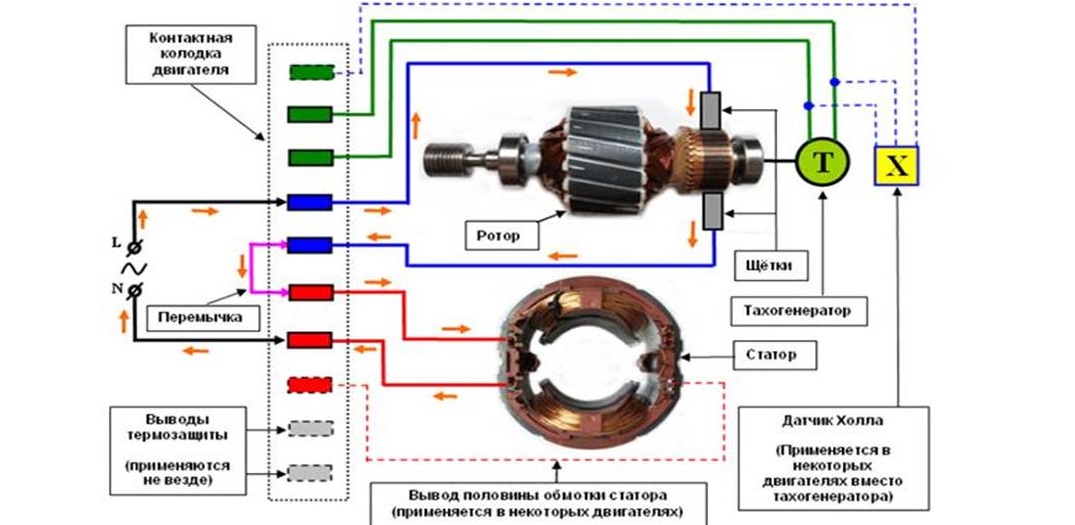
Finding the right conductor
After studying the diagram, the meaning of the operation of the electric motor should become clearer in your head. If you look at the wiring block from the front, then in most cases the first pair of left wires is connected to the Hall sensor, which regulates the rotation speed of the SMA motor.If you are making a homemade device, they will not be needed.
Next are the important stator wiring, which has reddish and brown tints. These are followed by cables directed to the rotor brushes. Their colors are gray and green.
To connect the washing machine's electric motor, you will need 4 wires: two stator, 2 rotor.
In order for the engine to start running from the mains, a starting capacitor is not needed. The motor itself also does not require a starting winding. Next, the engine wires are checked with a multimeter set to resistance determination mode. One tester probe should touch the wire, the other probe should look for a pair.
The tachometer wires will give a resistance of about 70 ohms. They need to be put aside. The remaining wires are also tested with a multimeter to find a pair.
We set the motor in motion
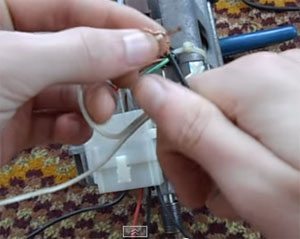
Once the pairs of wires have been identified, all that remains is to carefully connect them. How to do it? Using the diagram as a guide, combine the tip of the stator winding with the rotor brush. Here it is better to build a jumper and think about its insulation.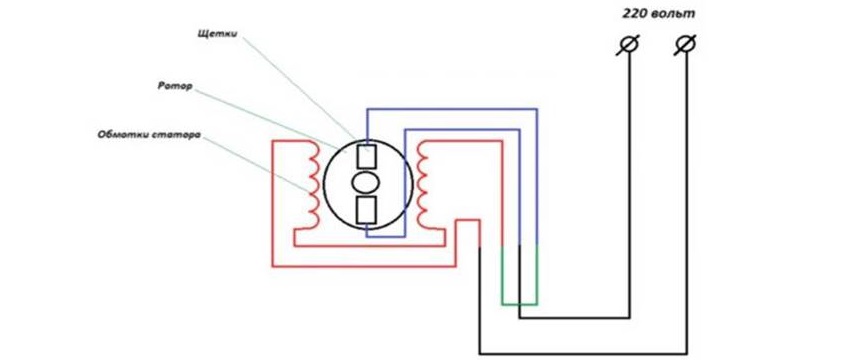
The jumper in the figure is indicated in green. At the end of this step, there will be two wires left - the tip of the rotor winding and the cable going to the brush. A voltage of 220V is supplied to these ends. When the power supply is turned on, the motor will begin to rotate. The electric motors of automatic washing machines are very powerful, so you need to work with a homemade device with extreme caution. It is advisable to fix the engine on a flat, suitable surface before using the structure.
If you need to change the direction of rotation of the engine, you need to make a jumper to other wires and rearrange the wiring of the rotor brushes. How to do this is shown in the diagram.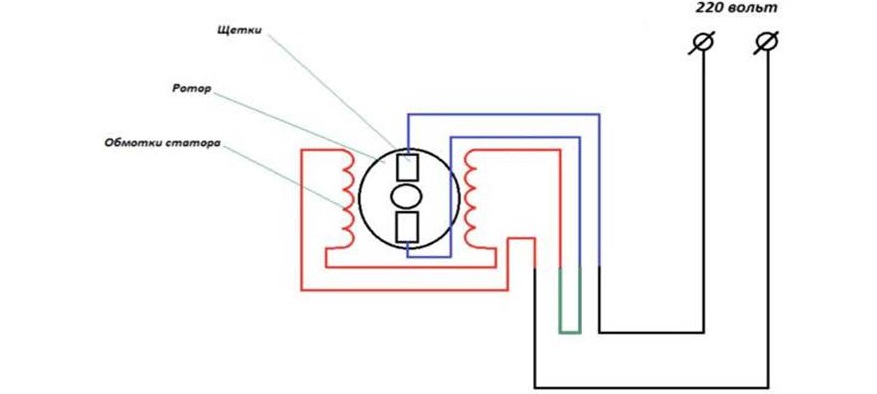
If you do everything according to the instructions, the electric motor will work and serve you faithfully for a long time. When the motor still does not start to rotate, you should make sure that the engine is generally working.
Interesting:
Reader comments
- Share your opinion - leave a comment



Add a comment