Washing machine calibration
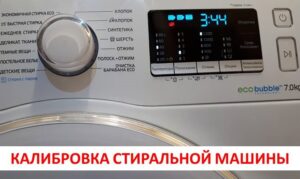 If your new “home assistant” can independently determine the weight of dirty laundry loaded into the drum, then before using it, she needs calibration. Fortunately, you only need to calibrate your washing machine once for all subsequent measurements to be correct. The difficulty for the user is that this process is not the same on different SM models from different brands. We will tell you in detail, using specific examples, how to properly prepare the washing machine for use.
Activate the function on WF1602XQR and WF1702XQR
First, let's look at the calibration of washing machines from Samsung. This popular technique is the one that gets asked the most questions, so it will be the first in our publication. You can calibrate a washing machine of this brand as follows:
- make sure that there are no foreign objects inside the device;
- turn off the machine using the power button, but do not unplug it;
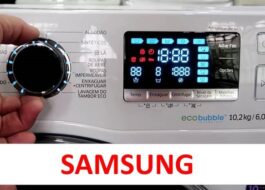
- hold down the “Temp” and “Delay Wash” keys, and then without releasing these keys, press the power button;

- if you did everything correctly, the unit will activate and show the message “CLB” or “_ _ _” on the display;
- now press the "Start" key, which activates the calibration;
- this will start the drum, which will begin to rotate in different directions for about 3 minutes.
You should not skip the machine calibration step if you do not want to receive incorrect data about the current weight of the laundry in the drum.
When the rotation is completed, you will see the message “END” on the display of the household appliance, meaning that the machine has passed calibration. The equipment will turn off and be ready for a full operating cycle.
Popular models of 2014 WW**H2, 5, 7
In approximately the same way, you can run the program on Samsung machines produced in 2014. The only difference is hidden in one button.
- There should also be nothing unnecessary in the drum.
- Turn off the device using the power key without touching the network cable.
- Hold down the Tempo and Delay keys without releasing them and press the Power key.
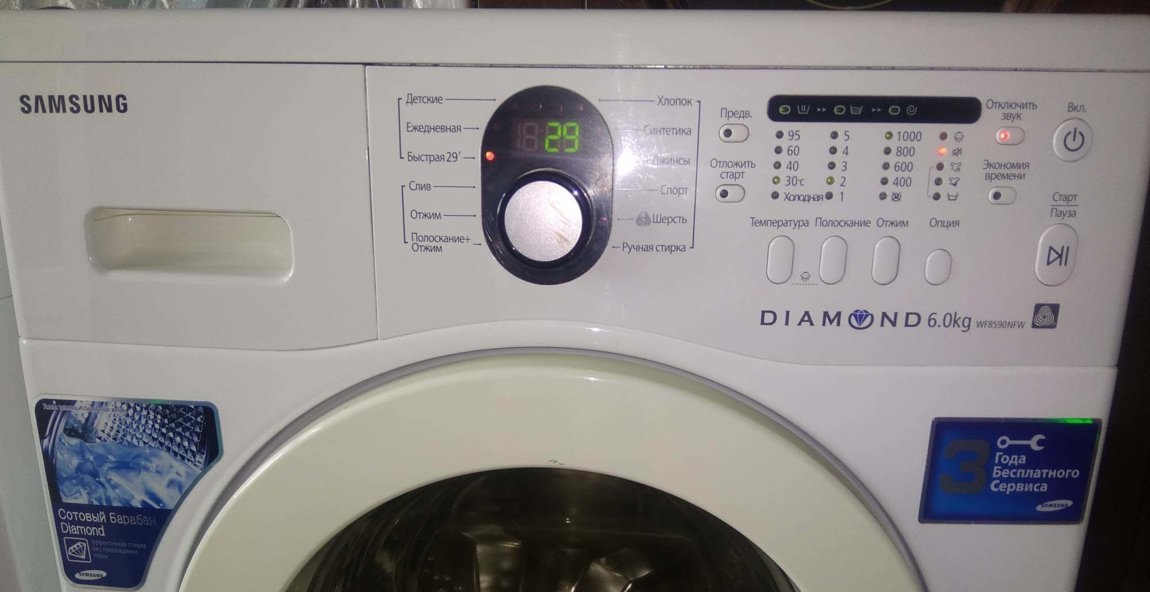
- As in the previous instructions, the device will turn on and show “CLB” or “_ _ _” on the display.
- Then all that remains is to start the drum using the “Start” button.
- Calibrating the washing machine will take the same 3 minutes, after which the machine will show a completion message on the display and turn off.
As you can see, there is nothing complicated in starting calibration, because the difference is only in one key.
Samsung WW12K8
Now let’s look at another common washing machine, which has a different type of control. You can calibrate a Samsung washing machine like this:
- make sure that the drum does not contain reference documents, spare parts and other items that the manufacturer usually leaves in the drum;
- connect the equipment to the network and activate it with the power key;
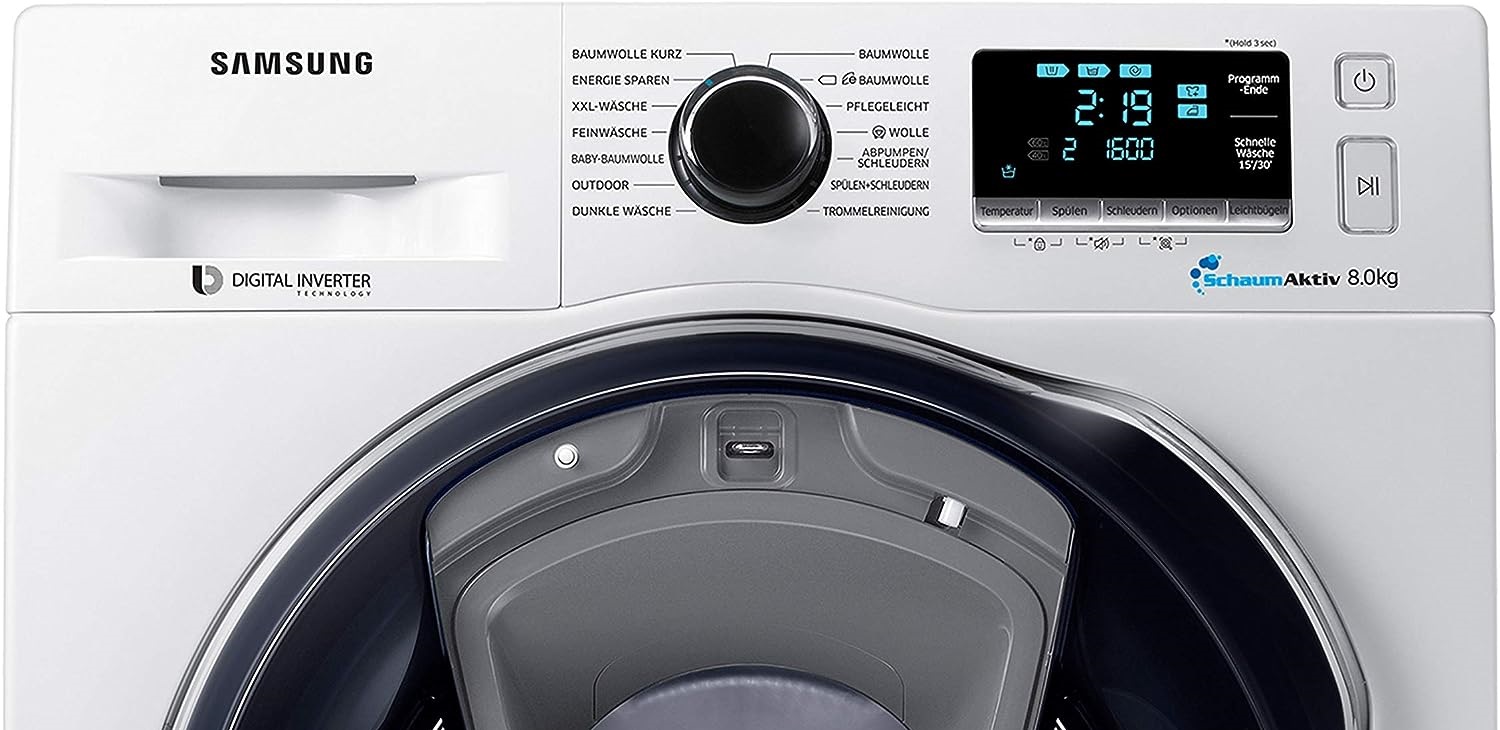
- hold down the “Smart Control” key for 3 seconds and wait until the settings screen appears on the display;
- in this menu, you need to use the “Up/Down” keys to select the calibration mode, and then press “OK”;
- start the cycle with the “Start” button;
The calibration duration is the usual 3 minutes. As soon as preparation for operation is completed, the “home assistant” will turn off itself.
Running the function on the Dexp machine
If you purchased household appliances from Dexp, then the instructions will be different.First of all, you will need to turn off the machine, and then turn it on again, after which the display will show horizontal lines for a couple of seconds, and then show the time. You need to press the “Spin” and “Delay” keys at the same time exactly at the moment when horizontal lines are displayed on the display.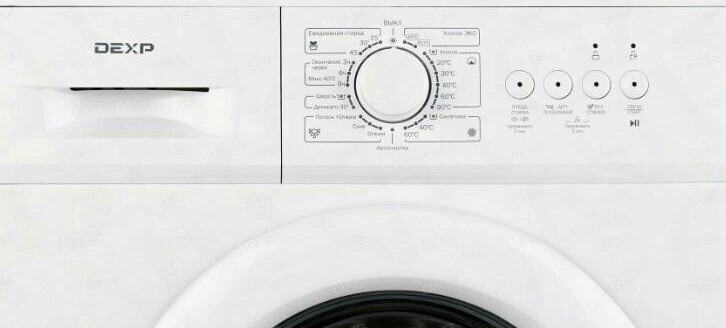
After that, all you have to do is start the calibration process with the “Start” button. When the cycle ends, you need to turn off the “home assistant”, because the settings will be saved. If this is not a new washing machine, but a restored one after a repair, during which the service center specialist had to reset the error code, then you need to recalibrate the Dexp washing machine, since its settings have been reset to the original values.
Setting up a Weishauff machine
The calibration of the Weissgauff washing machine is also slightly different, so it needs to be disassembled separately. First, make sure the drum is empty and the door is tightly locked so you don't accidentally damage anything.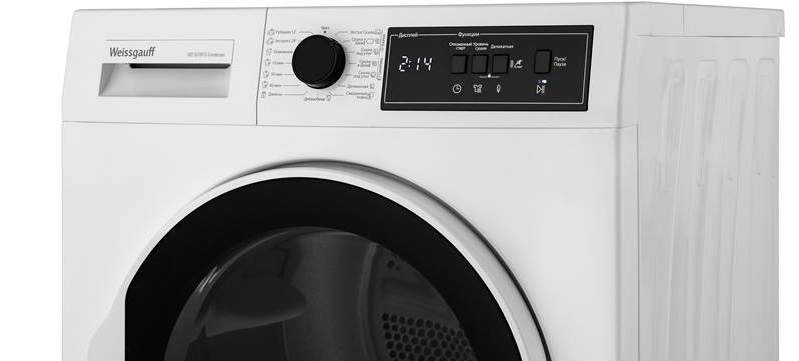
If everything is in order, then connect the machine to the power supply, turn the mode selection knob to turn on the device, and while horizontal and vertical lines can be seen on the display, you should simultaneously press the “Delay” and “Temp” keys. If you made it on time, the message “T19” will appear on the display, and you will only have to press “Start” to start calibrating the Weissgauff CM.
Midea MF100W70-W
Finally, before calibrating the Midea washer, it is recommended that it be securely leveled to a building level. Only after it stands level can it be connected and prepared for use.
Every time you move the unit and change the height of the legs, it is recommended to recalibrate the household appliances.
As is the case with “home assistants” from other brands, you first need to remove all excess from the drum and close the hatch door tightly. Only after this is it allowed to connect the unit to electricity. Activate the Midea machine and hold down the “Spin” and “Extra Rinse” buttons for about 3 seconds, after which “T19” will appear on the display. Now press the Start/Pause key and wait for the cycle to complete.
Interesting:
Reader comments
- Share your opinion - leave a comment



Add a comment