Error F7 in Haier washing machine
 Even the most modern and expensive household appliances can fail during active use. An F7 error that appears suddenly in a Haier washing machine informs the user that the electric motor has failed. In this case, the problem may be hidden in an open circuit of the motor, damage to the triac, damage to the winding, or worn brushes. To accurately identify the problem, you will have to partially disassemble the “home assistant” and diagnose various engine elements. We will analyze in detail each step of this long process.
We remove, inspect and test the engine
Fault code F7 occurs quite often, so the algorithm for what to do when it occurs is widely known. You can deal with this problem yourself if you follow our detailed instructions, so it is not necessary to immediately call a service center specialist. This manual is only suitable for machines with brushed motors, since devices with inverter motors are disassembled and tested differently. The first step is to gain free access to the electric motor. What should I do for this?
- Unscrew the screws securing the back panel of the washing machine, and then remove the wall itself.
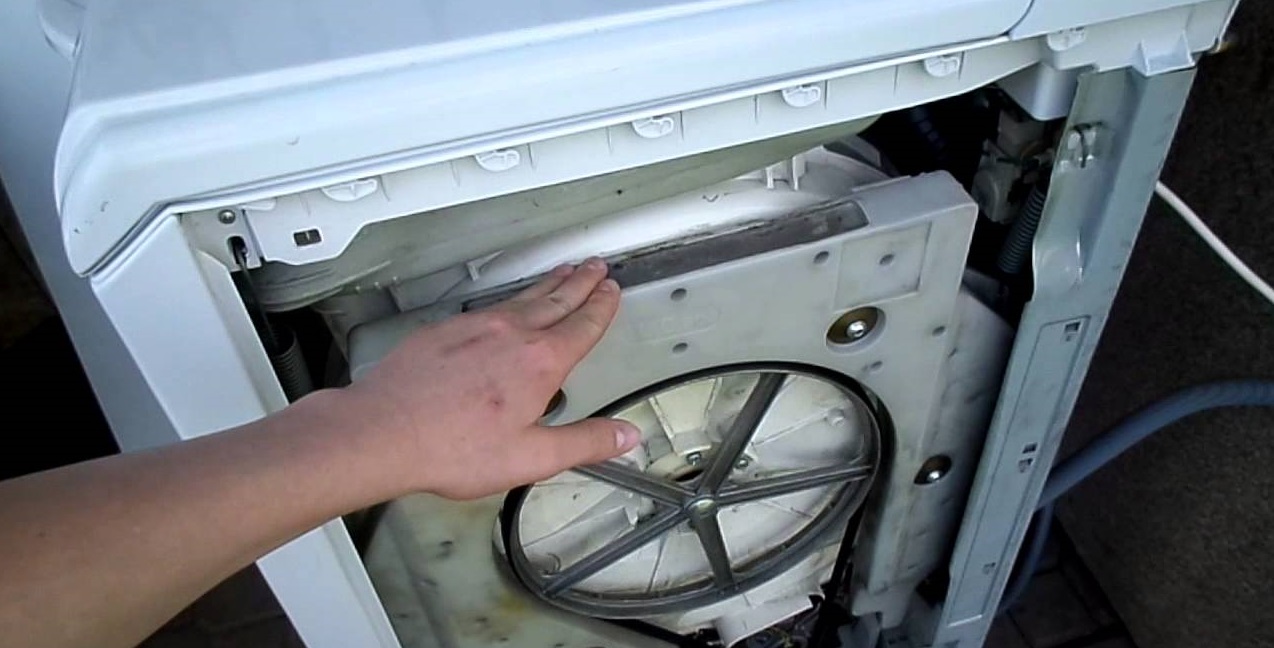
- Disconnect all wires connected to the motor.
It is better to take a few photos before disconnecting the wiring - this way you will have examples of the correct connection of the unit at your fingertips, which will be useful during reassembly.
- Remove the bolts holding the motor, and then remove it from the CM housing.
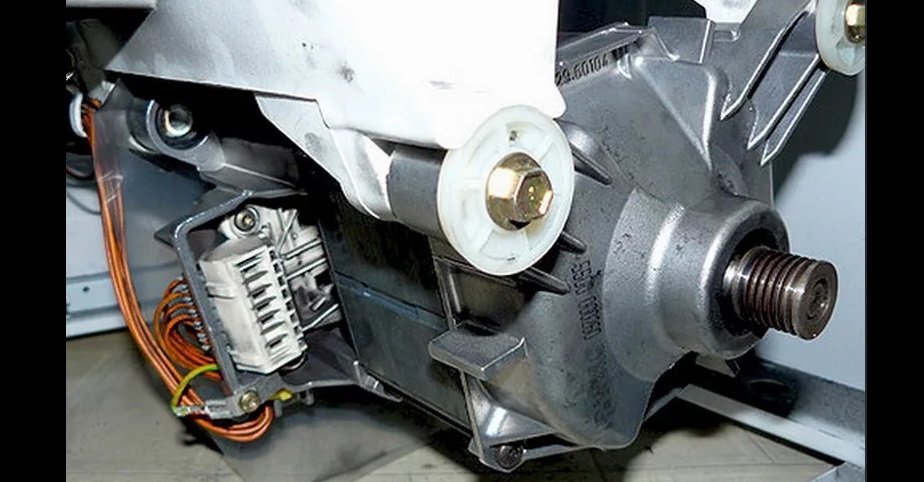
Now you can start checking the node.First of all, connect the wires of the stator and rotor windings, and then apply 220 Volts. If the rotor starts to rotate, then the electric motor is working. This is an extremely simple diagnostic method, but it has its drawbacks.
- This test cannot fully test the performance of the motor, because it will not determine how it will perform in different washing programs.
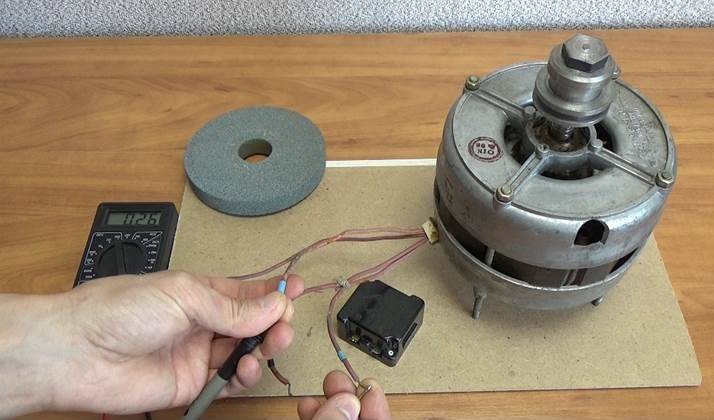
- Such a test can damage the engine when it is directly connected to the mains. To reduce the risk of shorting the motor, you need to add ballast to the connection circuit, for example, a water heating element of a washing machine. In the event of a short circuit, the ballast will heat up, thus protecting the engine.
The next step is to examine the engine brushes installed on the sides of the element body. These parts are made from not the most wear-resistant material, so over time they fail. The problem is hidden precisely in the brushes, if while connecting the motor wiring to the network, the motor begins to spark strongly. The repair in this case is simple - you just need to replace the brushes. Take the faulty brushes to the store as an example, or write down the model number so that the seller can select suitable replacement parts.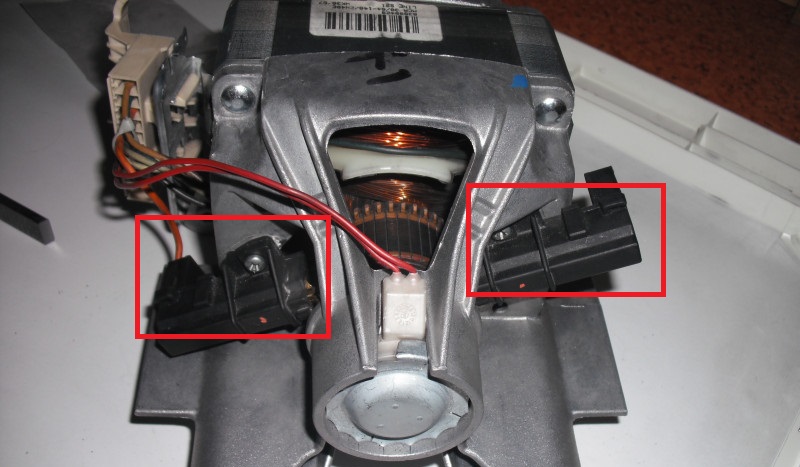
Also, fault code F7 may appear due to slats. These parts are responsible for transmitting electric current through brushes to the rotor, so the cause of the error may be the detachment of the lamellas. You can fix the problem on an ordinary lathe by turning the parts so as to remove all defects on the surface. Don't forget to remove all the shavings so as not to clog the “home assistant”.
We check the control board at your own peril and risk
What to do if checking the motor did not give anything, since it is completely working? In this case, there is only one option left - a problem with the control module, the “brain” of the Haier washing machine. It is almost impossible to repair it without the proper experience, knowledge and equipment, but you can check it at home without calling a repairman. For inspection you will need:
- disconnect the washing machine from all communications;
- pull out the powder receptacle, for which you need to pull it towards you, pressing the central latch;
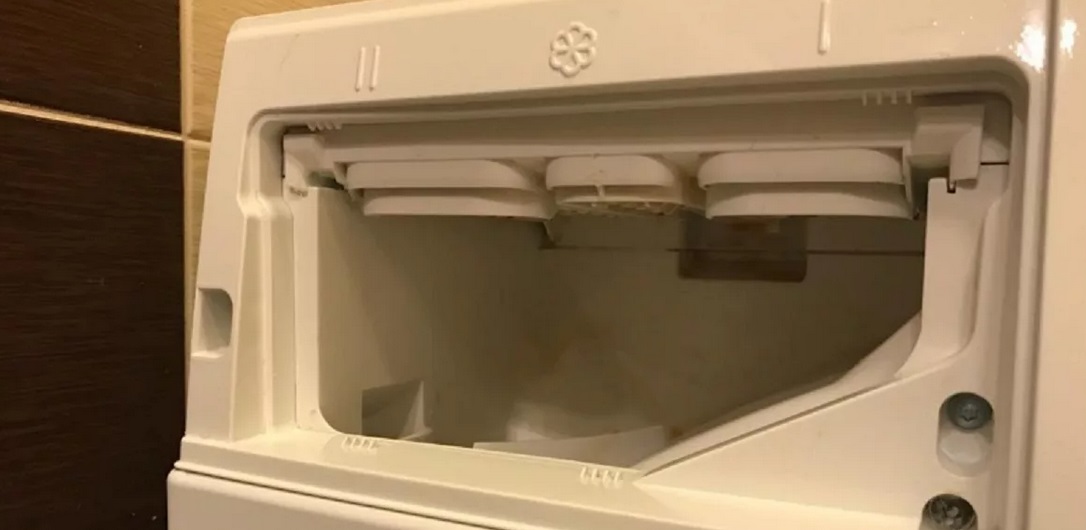
- remove the bolts holding the machine control panel;
- Using a small screwdriver, release the latches that hold the panel;
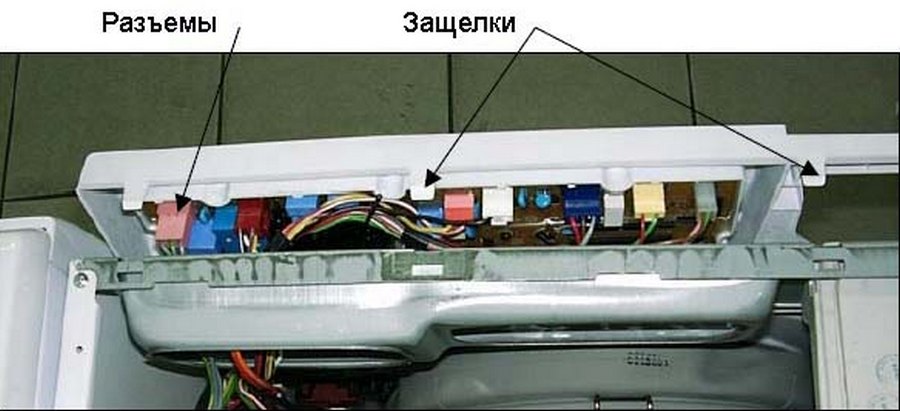
- remove the panel and carefully place it on the lid of the washing machine so as not to break the wiring.
The control module is located immediately behind the control panel. Do not rush to disconnect all the wires from it - as before, it is better to first take a photo of the correct connection. Disconnect the wiring and remove the control board, first releasing the housing latches.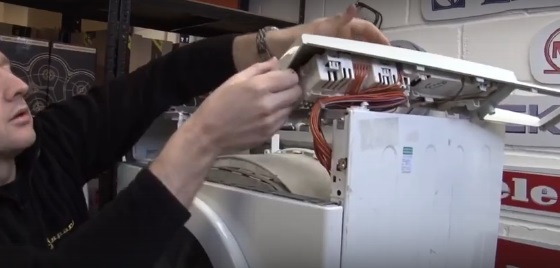
Now the module must be carefully examined for damage. This could be dents, burnt areas or any other damage. If you find visible defects on the unit, it will need repairs before you can continue to use the Home Assistant. You can repair individual parts of the control board yourself. For repairs you will need a soldering iron, a multimeter and replacement parts.
If you are confident in your own abilities, then you can begin restoration work. Be sure to familiarize yourself with the semiconductor elements that are on the board and that need to be tested.
- Capacitor. This part is a stabilizer on the board.If it is this that is damaged, then you need to solder a new element to the positive electrode, having first determined the polarity of the electrode with a multimeter.
- Resistor. First of all, check the resistor with a multimeter. If it is of the first order, then the tester should ideally demonstrate a resistance of 8 Ohms and 2 Amps of overload, if of the second order, then 3-5 Amps, and the resistance will depend on the frequency of the module. If you find a discrepancy, you will have to replace the resistor using soldering.
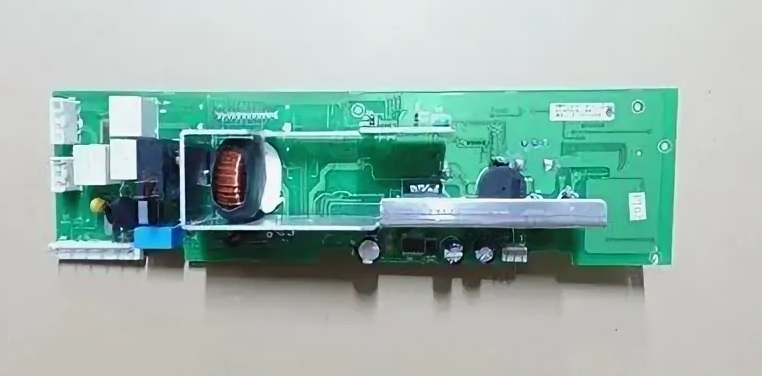
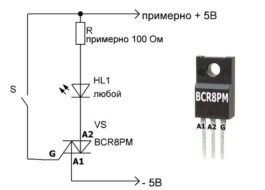
- Thyristor block. For the test, you need to measure the resistance of the switch, which should be no more than 20 V.
- Block filter. If it burns out, then you need to clean the cathode.
- Trigger. Check the voltage at the input contacts, which should be no more than 12 V, and then evaluate the resistance of the trigger filter, which should normally be 20 Ohms. Here you will also have to solder to replace the part.
Most often, the CM control module fails due to strong vibrations during spinning, or due to sudden changes in the power supply. Always install household appliances correctly so that they stand stable and level, and do not forget about the fuse against voltage surges. If you cannot resolve the F7 fault code yourself, then call the service center specialists to restore the machine’s functionality.
Interesting:
Reader comments
- Share your opinion - leave a comment





Add a comment