Error 4 in the Gorenje washing machine
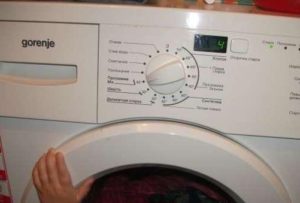 Error 4 in the Gorenje washing machine is not displayed very often. If once again, when you start the wash, you still see code F4 on the display, there are two options: call a service center technician or contact your “hands-on” spouse who has an understanding of how washing machines work. Let's figure out how to interpret this fault code and what parts of the automatic machine will have to be checked.
The meaning of this cipher
To understand the reason why the Gorenje washing machine refuses to work, you should delve into the decoding of the fourth code. Error 4 indicates a failure of either the CMA motor or the tachometer, or a break in the wiring between these elements. It is extremely rare that F4 notifies of a breakdown of the triac on the control board, which is responsible for the electric motor and Hall sensor.
It is better to entrust the repair of the control module to specialists; without certain knowledge and experience, the situation can only worsen.
We are probably talking about the following engine damage:
- wear of electric brushes;
- lamella defect;
- breakdown of the stator or rotor winding;
- broken wires, etc.
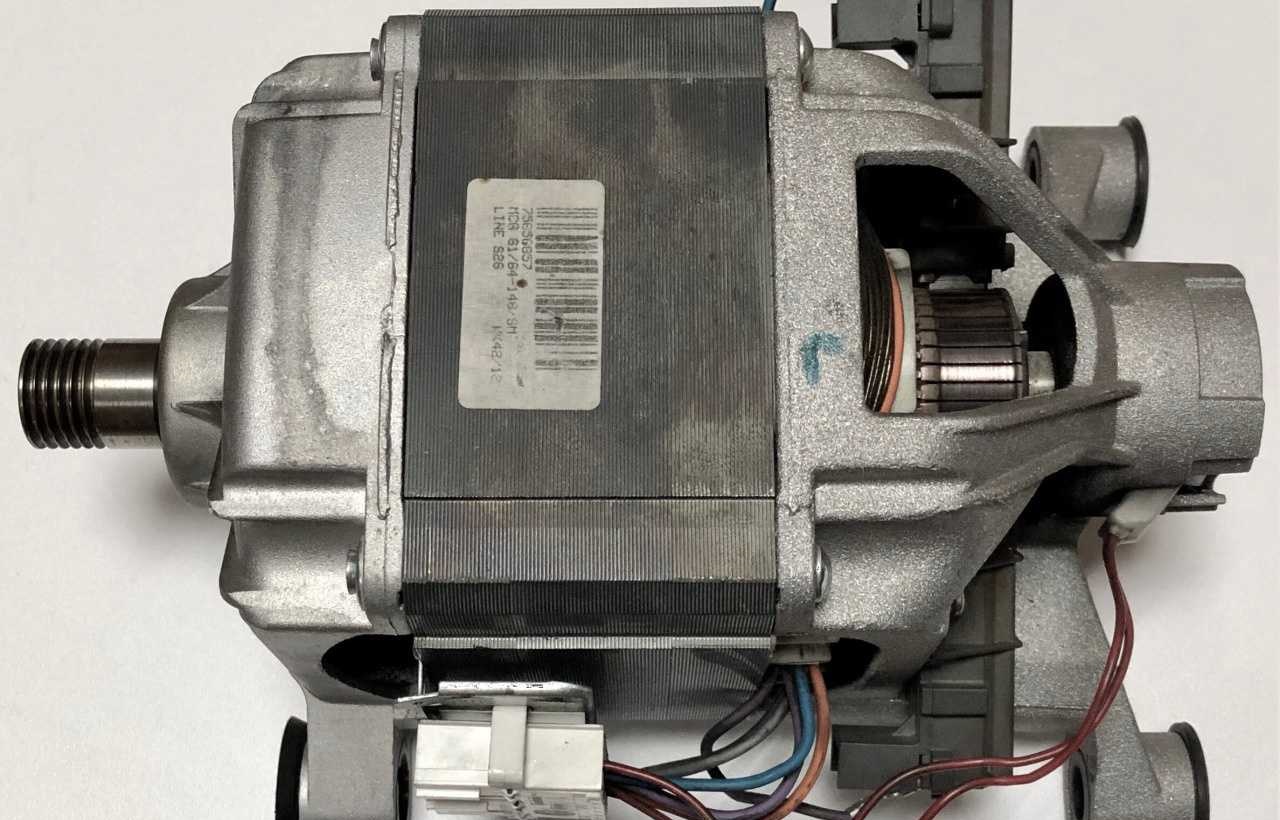
You should diagnose the elements of the Gorenie washing machine one by one. It is recommended to first check the Hall sensor, and only then proceed to inspect the electric motor. We'll tell you how to do the diagnostics yourself.
Testing the tachometer
Before you start repairs, you need to figure out where the tachometer is located in Gorenje washing machines. The tachogenerator controls engine speed and is installed directly on the engine rotor. What should I do to get to the Hall sensor? The algorithm will be as follows:
- turn off the power to the washing machine;
- disconnect the unit from the water supply and sewerage;
- Unscrew the bolts securing the rear wall of the case, remove it and set it aside;
- Carefully remove the drive belt. This is quite simple to do - start pulling it towards you, at the same time, with your free hand, rotating the pulley;
- disconnect the power cable from the electric motor. Before removing the wires, take a photo of the connection diagram or mark them, this will allow you to avoid getting confused with the connection during reassembly;
- Unscrew the screws holding the motor;
- start shaking the engine back and forth, this will allow you to remove the element from the housing.
Access to the tachogenerator has been obtained; it can be carefully inspected. Due to strong vibrations of the machine during operation, the contacts could come loose or the sensor fastenings could loosen. Error 4 can be eliminated by simply tightening the fastening or restoring the damaged chain. If no defects are detected during external inspection, you should check the resistance of the Hall sensor.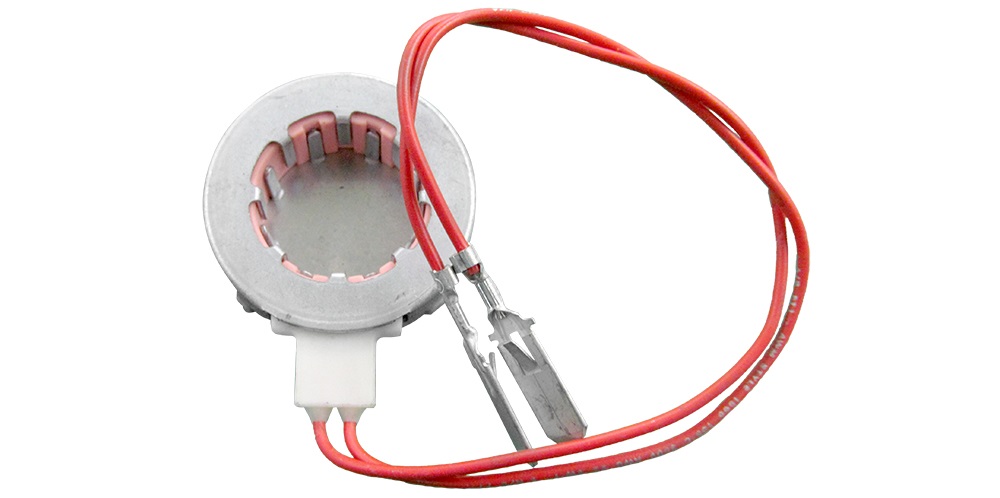
For further diagnostics you will need a multimeter. Firstly, you can select the resistance determination mode on the device. Apply the tester probes to the tachogenerator contacts. If the multimeter screen displays a value of about 60-70 Ohms, then the Hall sensor is working.
Secondly, you can switch the tester to voltage measurement mode. During this test, it will be determined whether the sensor produces current or not. For diagnostics, the probes of the device are applied to the contacts of the tachogenerator, while the engine is rotated with the other hand. If the values on the multimeter screen change (within 0.2 V), then the sensor is working.
The tachometer rarely fails, so special attention should be paid to checking the integrity of the wiring connection.
Detailed engine check
If the cause of code 4 was not due to damage to the tachometer and connections, you should begin inspecting the electric motor of the machine. The engine brushes are graphite rods located on both sides of its body. Electric brushes, in contact with the rotor, are gradually erased. If the components are severely worn, the current stops flowing to the rotor, as a result of which the rotation of the engine stops. If the electric brushes are heavily worn, sparking will occur.
To check the brushes yourself, you need to disconnect the wiring from them, move the terminal and remove the graphite rod. If more than half of the wear has occurred, the brushes must be replaced. Moreover, two rods must be replaced at once, regardless of the level of abrasion of the second. Damaged parts are removed, the area is cleared of graphite dust, and new electric brushes are installed in their original place. Then the wiring is connected.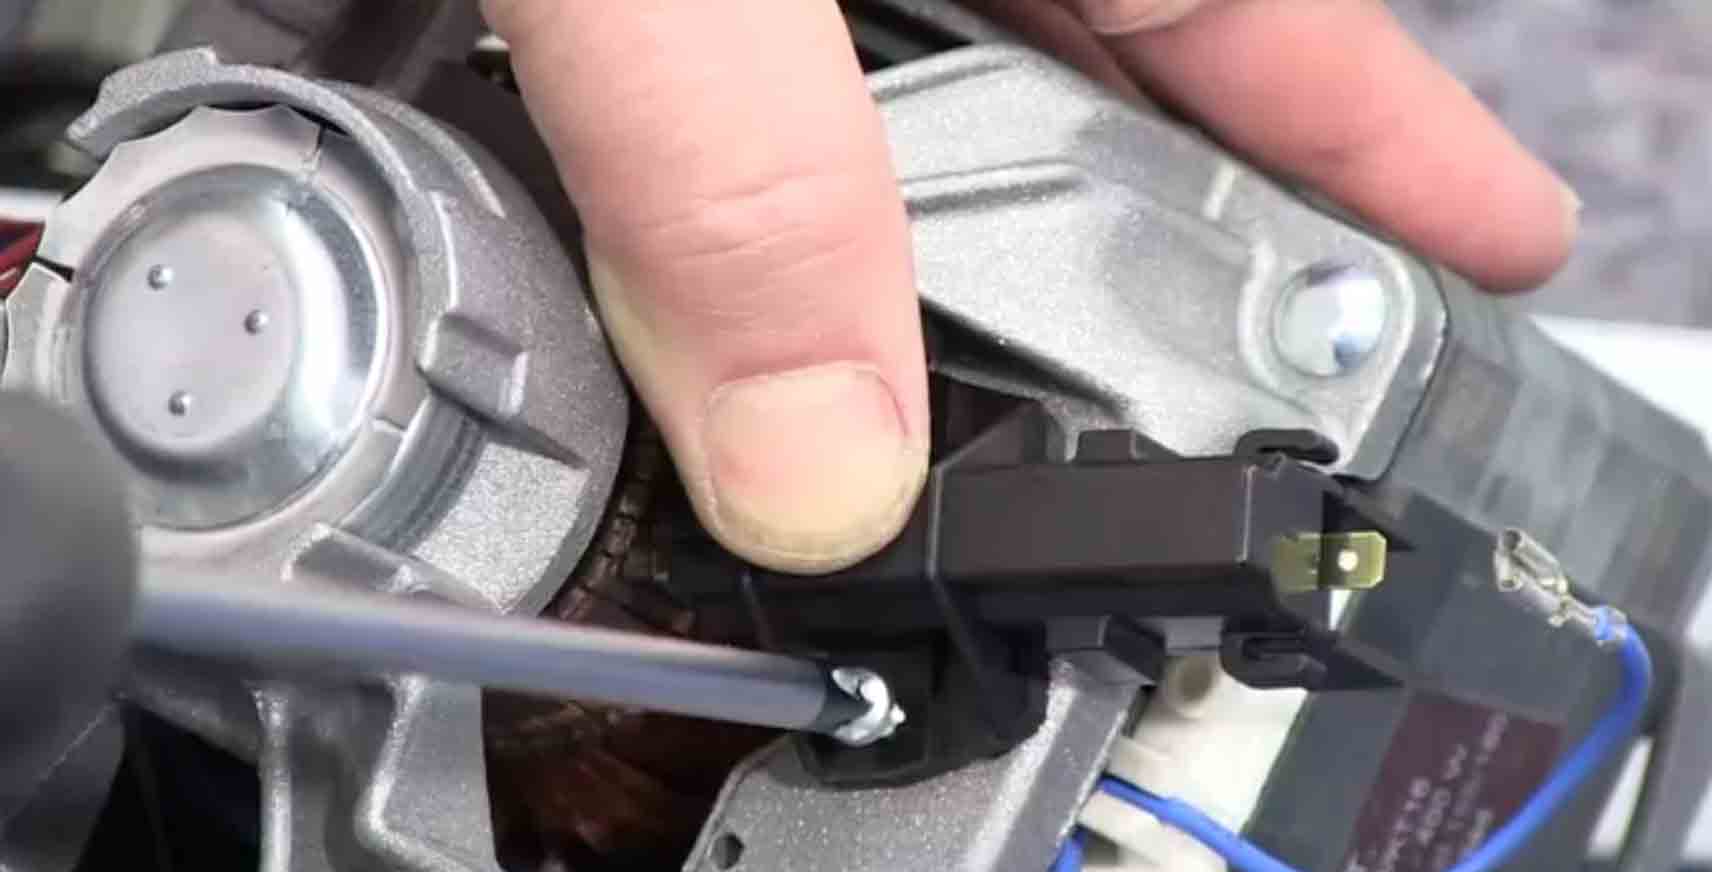
If, upon inspection of the brushes, no breakage was found, the rotor winding should be checked. If there is a short circuit in it, the engine overheats, the protection is triggered, and the engine simply does not start. A multimeter is useful to check the rotor winding. Algorithm of actions when diagnosing with a tester:
- switch the device toggle switch to resistance detection mode;
- attach the probes of the device to the lamellas;
- Compare the values displayed on the multimeter screen with the standard values.
If everything is in order, the device will produce a resistance ranging from 20 to 200 Ohms. When the winding breaks, the values on the tester tend to infinity. When a short circuit occurs in the circuit, the numbers on the screen will be minimal.
To prevent a short circuit in the rotor winding, set the multimeter to buzzer mode. One probe should be brought to the rotor iron, the second to each lamella. A “beeping” tester will tell you about the malfunction.
You can also check the condition of the motor by measuring the resistance of the stator winding. The wires are connected to each other, and the tester probe is applied to them (the multimeter must operate in buzzer mode). If the motor shorts out, a characteristic squeak will be heard. In this case, the situation can only be corrected by completely replacing the electric motor. Repairing the motor will be impractical, since rewinding the winding is much more difficult and expensive than installing a new motor.
It could also be due to peeling lamellas. Examine the plates. If you find defects on them, you can try to get rid of the peeling yourself on a lathe or contact a workshop.
Interesting:
3 reader comments






Thank you!
Thank you very much! Everything is very clear.
Thank you from the bottom of my heart